
Hello, Gloryseekers!
Jonathan here, writing about the Lady Harrow’s Mournflight deck I have been playing recently, and the recent Straight Outta Shadespire X (this was the 10th event held by this name) cam game event I participated in with the deck. I’ve had a lot of fun playing them recently and wanted to share my thoughts on how they work, as well as write my first event report for the Path to Glory blog!
Why Lady Harrow’s Mournflight?
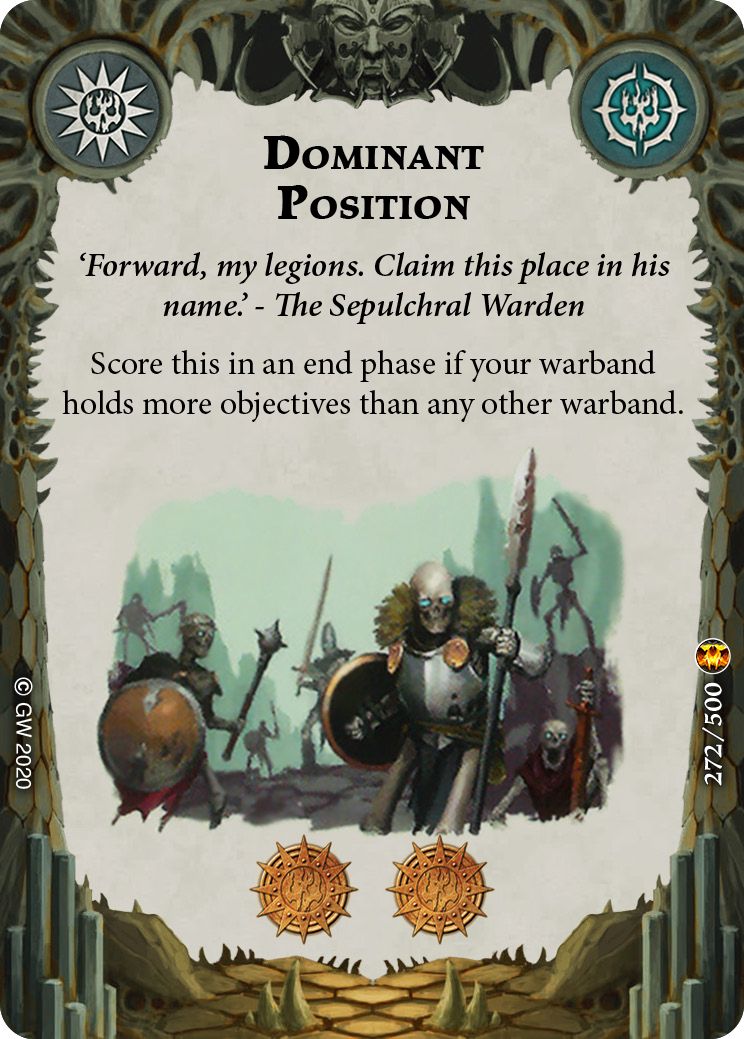
The reason I choose Lady Harrow’s Mournflight as the warband to focus on first this season is two fold. First, I think they benefit immensely from the new objective card Dominant Position, which is effectively the same as their card Nexus of Terror. Perhaps even more importantly, the Mournflight also have a LOT of very powerful in faction cards which is always a good thing but is especially valuable in the beginning of the season.
I had also been playing a little bit of the new Direchasm warband the Dread Pageant in order to prepare for our warband review article and podcast episode, and it occurred to me that the Mournflight could be played very similarly, and perhaps do a few things better if played a particular way. The deck is also somewhat reminiscent of the “Hold Two” Magore’s Fiends deck I played in the previous season, so the general playstyle came somewhat naturally.
Some quick thoughts on each of the fighters:
- Lady Harrow is great, and you should inspire her if you can, but it’s usually not as important as inspiring the Anguished One. Once inspired, remember to use her reaction to block enemy reactions and push next to enemy fighters you can attack. I find she usually dies towards the middle of the game, so try to make the most of her.
- The Anguished One is probably the best fighter in the warband due to her ability to ignore enemy crit defs once inspired. Inspiring her and keeping her alive in the first round should be a priority. The extra health she gains from inspiring is also amazingly useful for keeping her alive, and you will frequently want to charge with her early to help her gain that extra durability.
- The Screaming Maiden is your expendable front line fighter. She isn’t very good in the first round, and does not gain wounds from inspiring. Her inspired attack is solid with 4 fury and crit damage, but she usually dies before she gets to use it. Since her uninspired side is the same as the Anguished One, if you ever have to choose between using the two of them in a situation where you are not able to inspire (such as when you have to charge/move onto an objective with no way to inspire), or they are very likely to die, I always choose to go in with the Screaming Maiden (maybe she is screaming “YOLO?”).
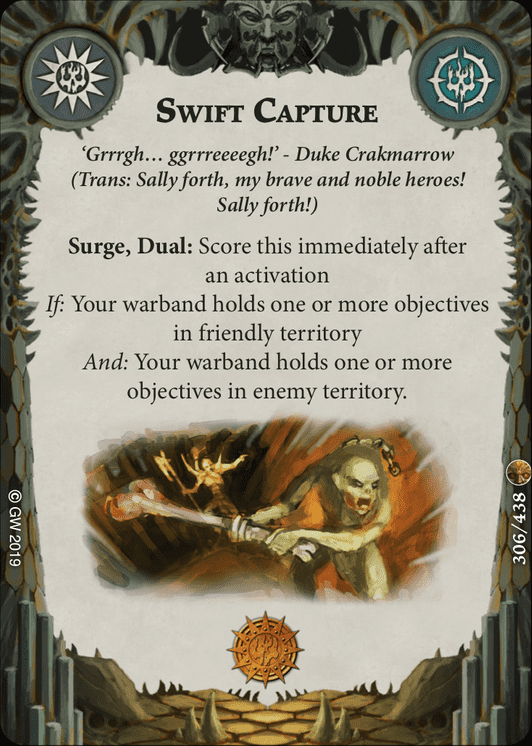
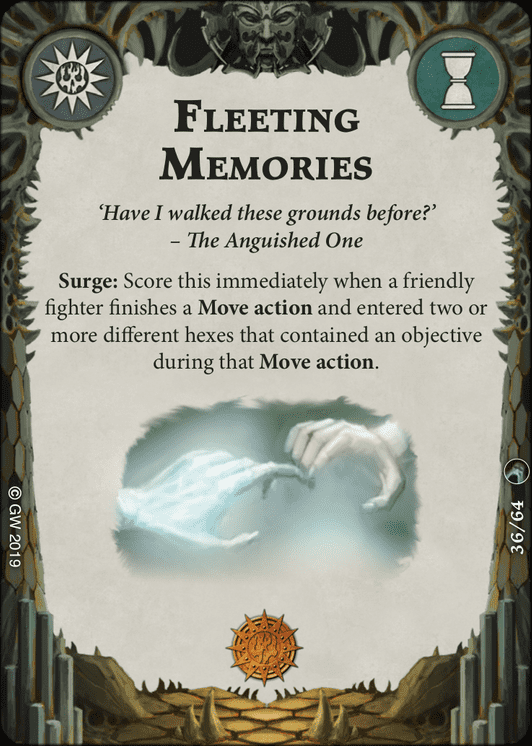
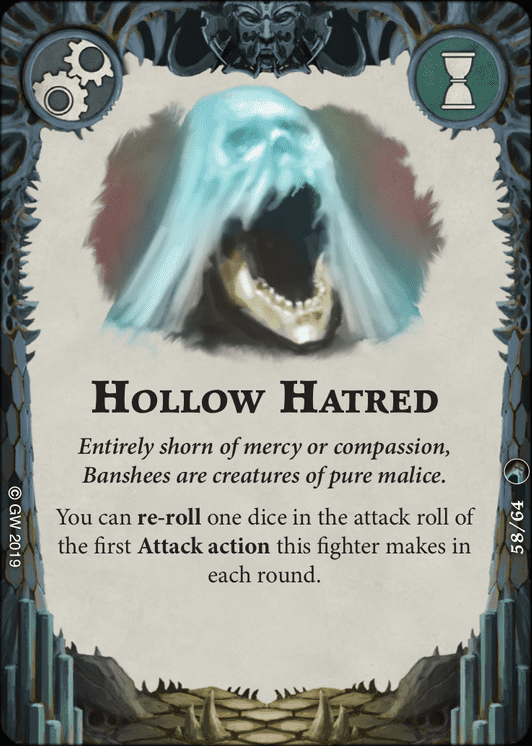
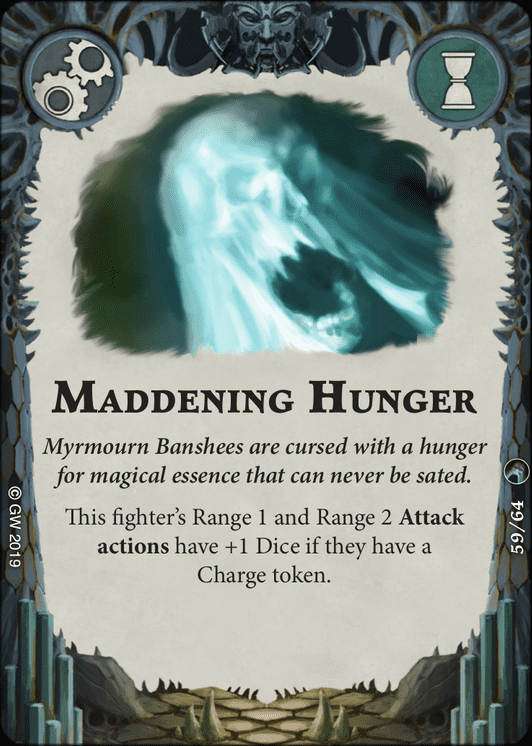
- Widow Caitha is pretty bad in general, with a strange combination of stats that make her very easy to kill early in the game but also allow her to occasionally kill something important. I like to keep her in the back most of the time, and she is the fighter I will usually move first in order to set up for Hidden Purpose or Swift Capture in the first activation, or perhaps even to score Fleeting Memories as well. I don’t usually prioritize inspiring her except to keep her alive since her attack doesn’t get any better, but she does get an extra wound, going from 2 to 3 which can be nice. I will frequently give her wound upgrades to help keep her around standing on an objective. She is also a good candidate for weapon upgrades like the Amberbone Sword, or accuracy upgrades like Hollow Hatred and Maddening Hunger to make her suddenly a lot scarier as needed.
In my opinion, the main weakness of the Mournflight is that most of their powerful cards require two of their fighters to be alive in order to hold objectives, or sometimes as a condition of their scoring particular cards. This means that once you start losing fighters it can become a lot harder to do what you need to do to score cards, and because none of your fighters have any range, you also tend to lose activations towards the end of the game when all of your fighters have charged.
A second weakness is that this warband really wants certain fighters to inspire. The Anguished One is particularly important, due to the extra Wound she gains and the improvement to her attack action (ignoring crit defs is AMAZING!), but the other three also gain a fair amount from inspiring, and because you usually inspire during a charge, it is very important to inspire as many fighters in the first round as possible in order to be able to use those inspired stats in the second and third rounds. These weaknesses are things to be aware of as you build and play the deck, and can be worked around in most cases.
The Evolution of the Deck
Most decks I end up having success with tend to go through quite an evolution as I build and practice with them. While practicing, I try not to make too many sweeping changes at once, and ideally play at least 2 games with a deck version before making any changes, since sometimes my card ideas are good but the card order is not, and changing too much about a deck too quickly works against how familiar you end up being with the deck.
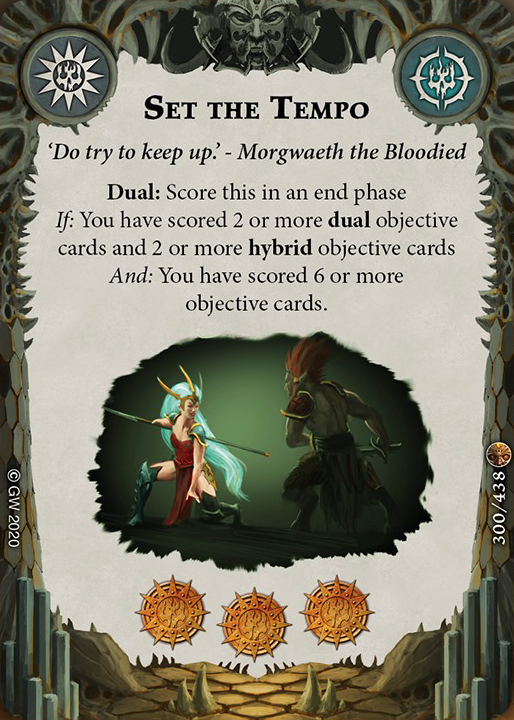
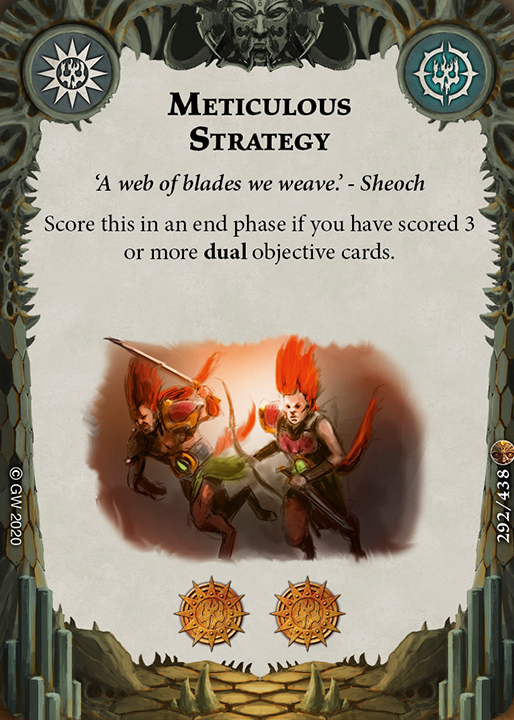
My very first try at the deck started out as a Set the Tempo deck, but I could not find quite the combination of Hybrid and Dual objective cards I felt were reliable enough (I like to have at least 3 of each), and I generally don’t like having cards that are difficult or impossible to score in the first round. I then changed out Set the Tempo for Meticulous Strategy, and the deck ended up looking like this:
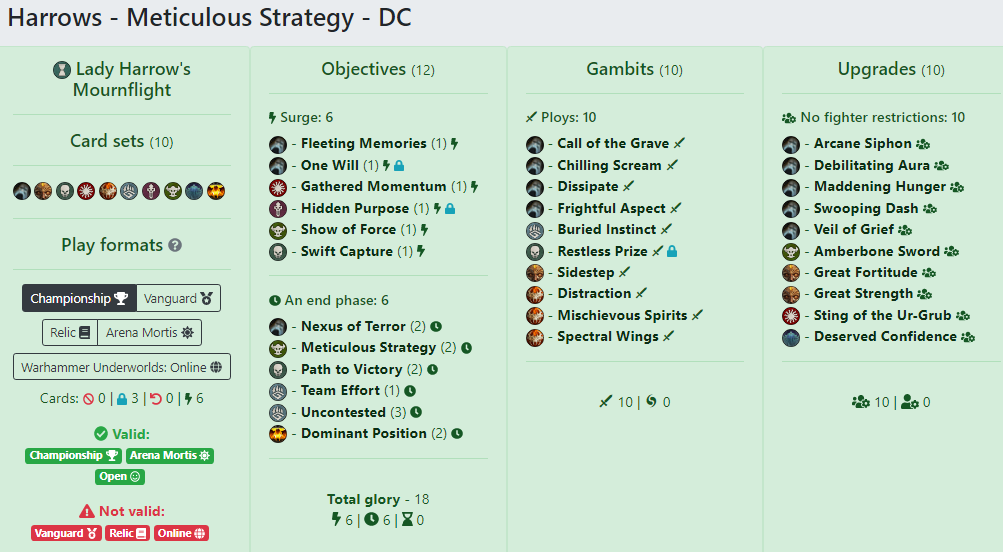
I think this version of the deck is fairly solid.
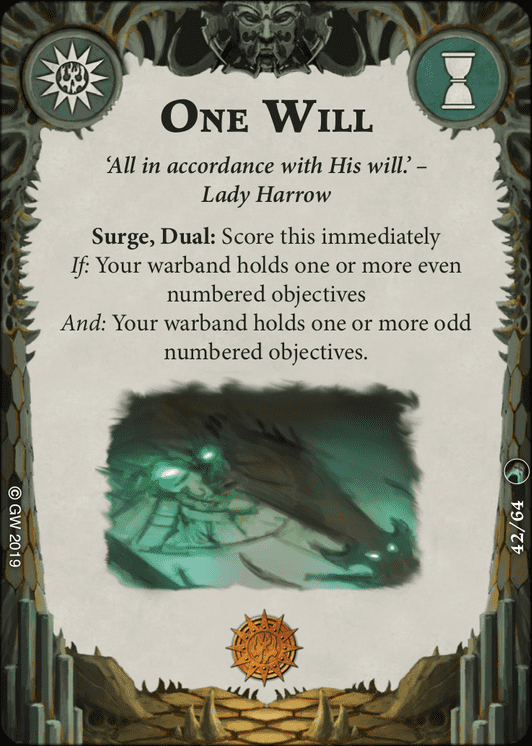
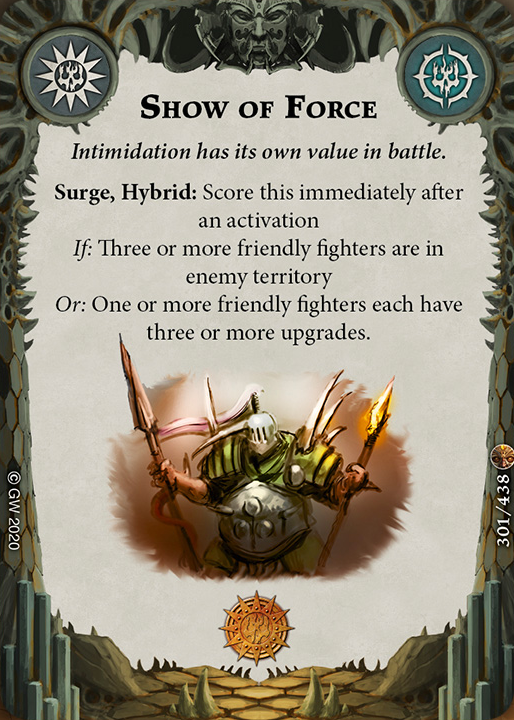
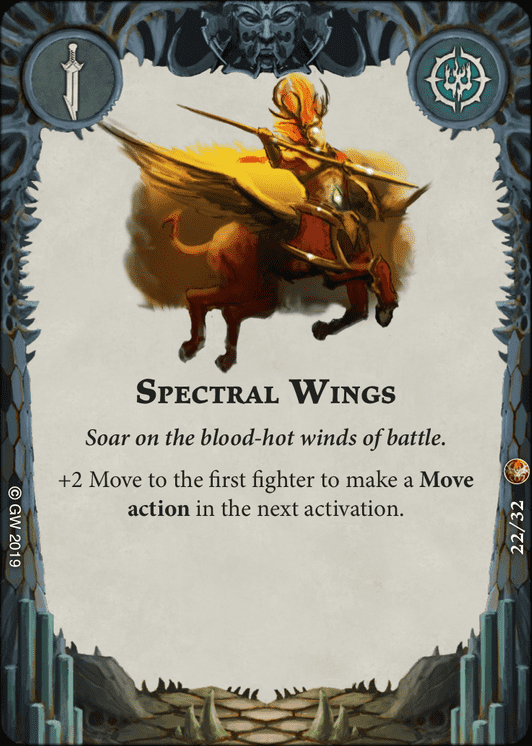
The Surges in the deck are all very reliable. One Will, Swift Capture, and Hidden Purpose tend to be fairly easy scores that can frequently be scored together, though they do importantly require me to have two fighters alive in order to do so. Gathered Momentum, Show of Force, and Fleeting Memories are also reliable, though Show of Force can sometimes be hard to score in the first round, the movement condition of Gathered Momentum requires me to have Spectral Wings or glory for Swooping Dash if I do not have any inspired fighters with 2 move, and Fleeting Memories requires that I set up my objectives in a smart way so I am able to move across 2 of them in the first activation if needed.
What makes these surges so powerful is the fact that if the board state allows me to achieve their conditions, there is no luck (dice) involved in scoring any of them, and almost all of them can be scored together if the conditions are right. This means that my opponent either cannot stop me from scoring them at all, or they have to carefully control the board state in order to deny my scoring.
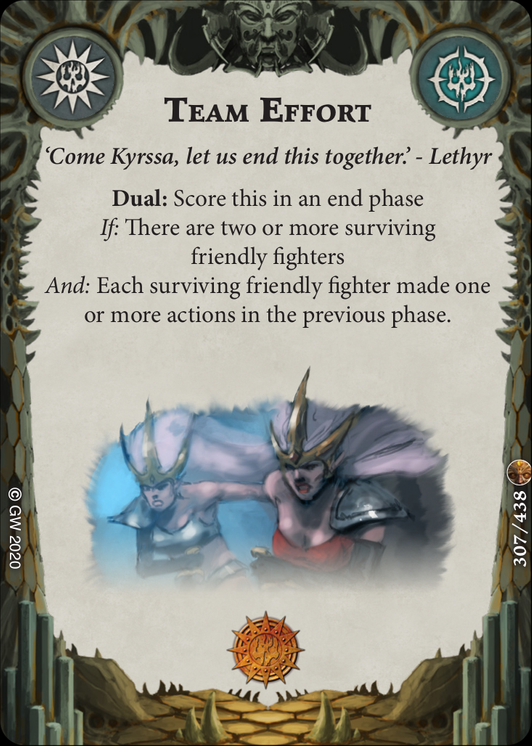
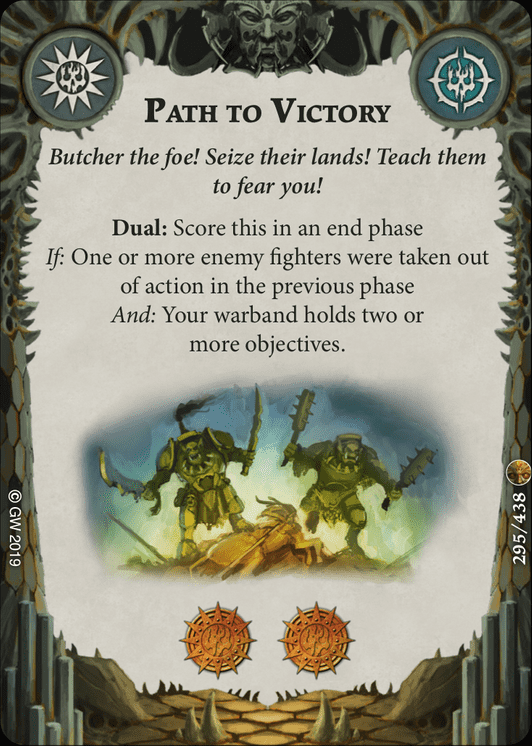
The End Phase cards in the deck are also quite reliable, though they can sometimes be stopped by a smart opponent, particularly one that can contest my control of the objectives. Team Effort is hard to stop if I have 2 fighters alive and Meticulous Strategy is unstoppable as long as I score my other Dual cards, but Path to Victory, Nexus of Terror, Uncontested, and Dominant Position all require that I hold objectives. Importantly, none of these objective cards require me to hold more than 2 objectives at once, and the Nexus of Terror and Dominant Position can even be scored while holding one objective.
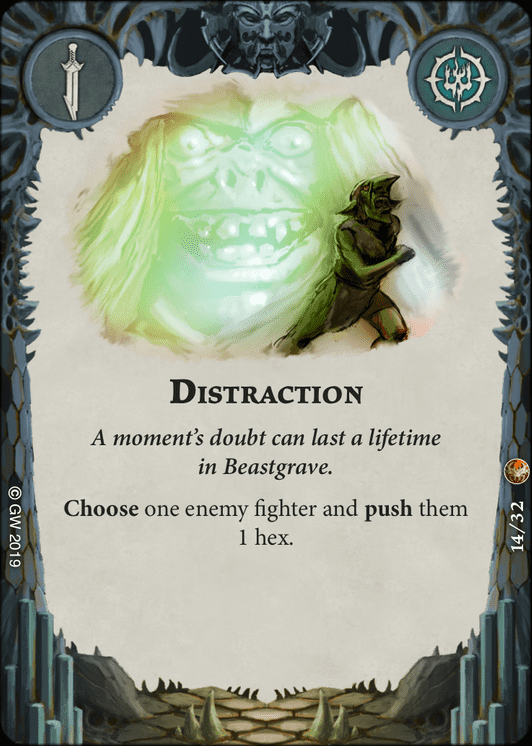
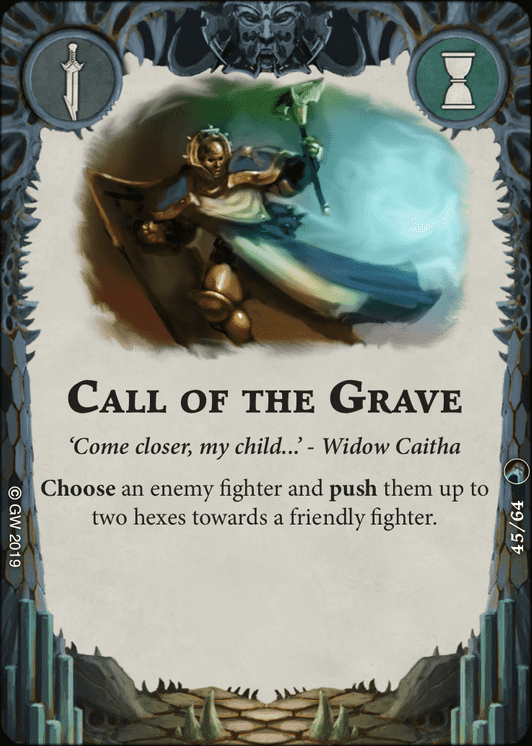
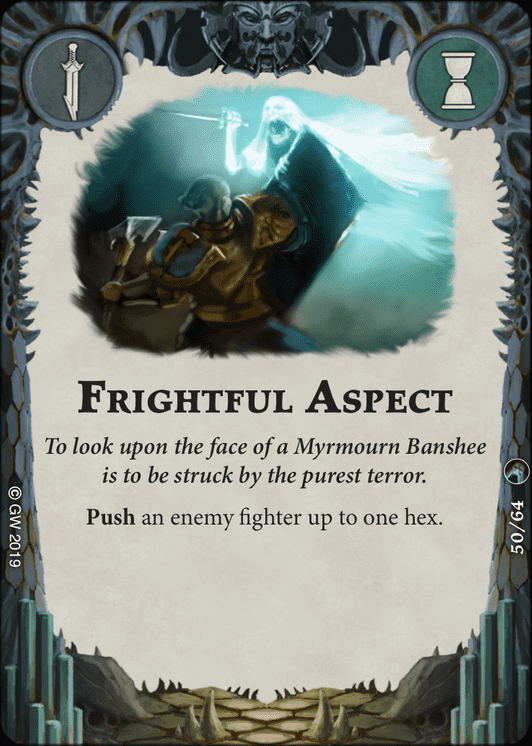
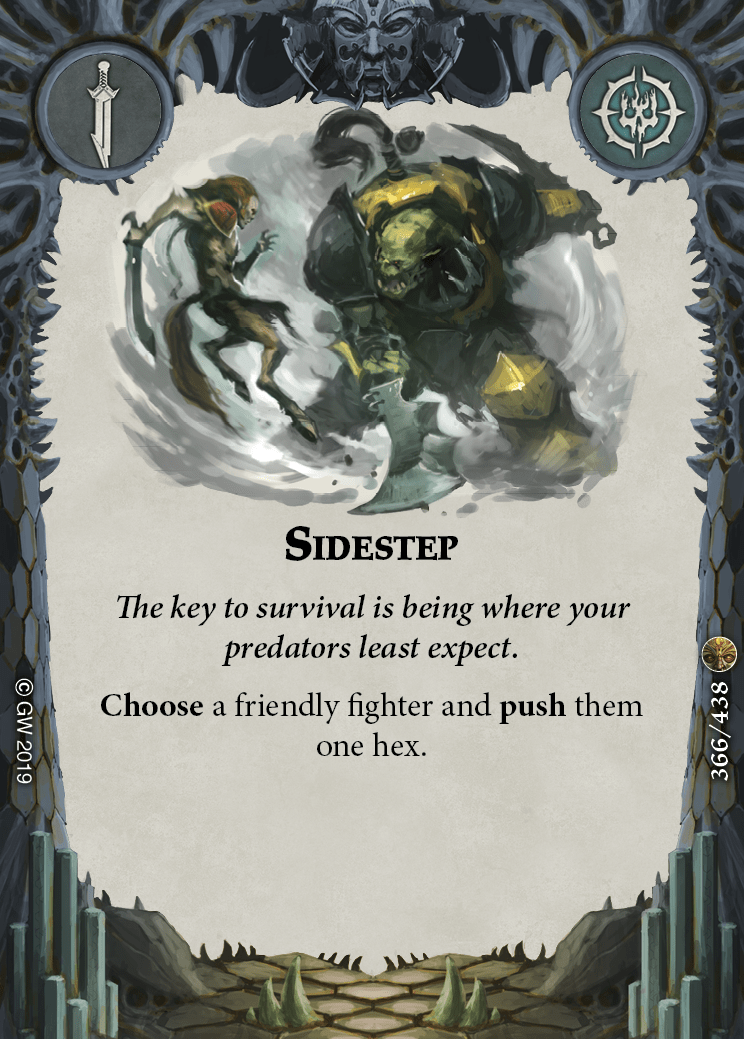
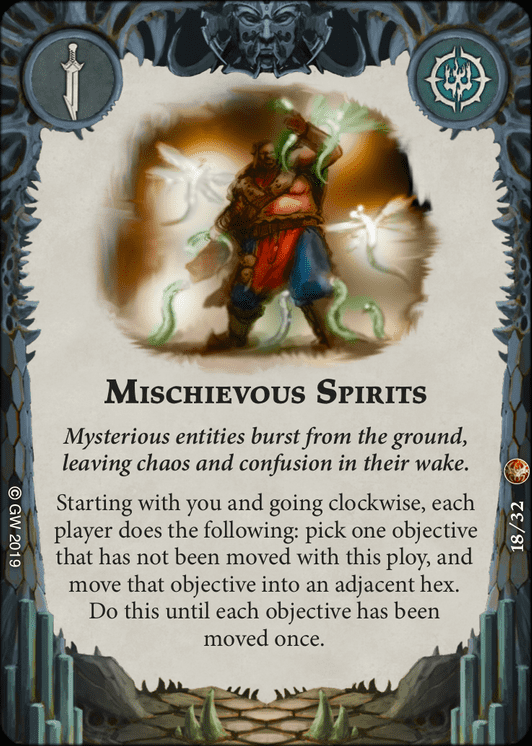
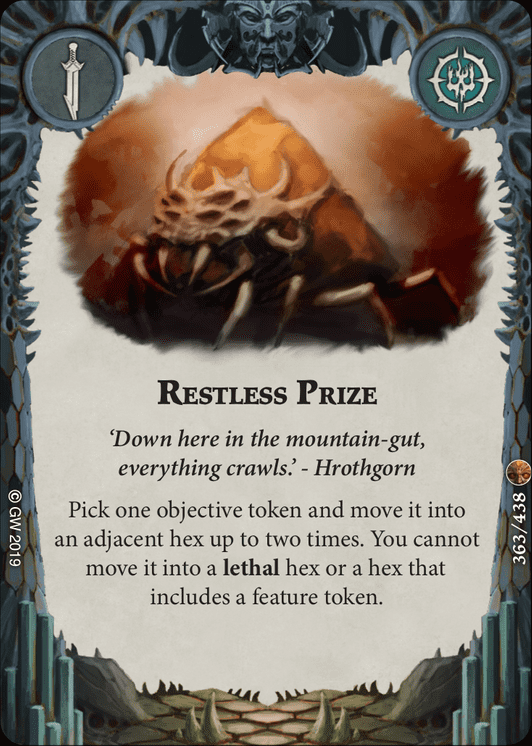
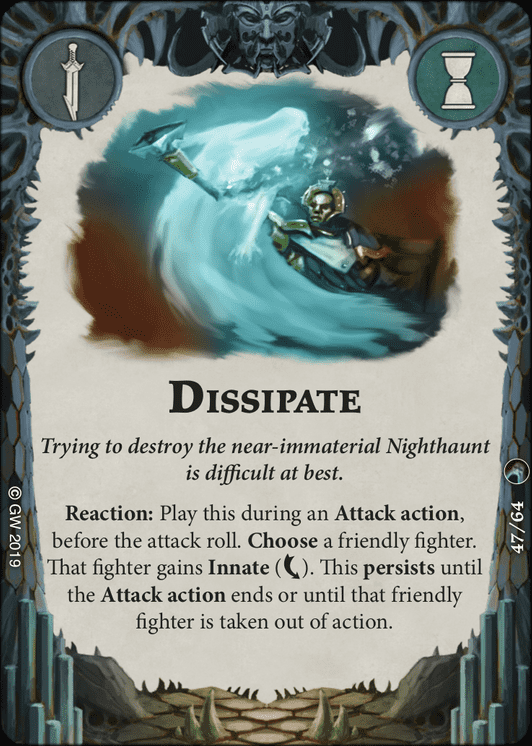
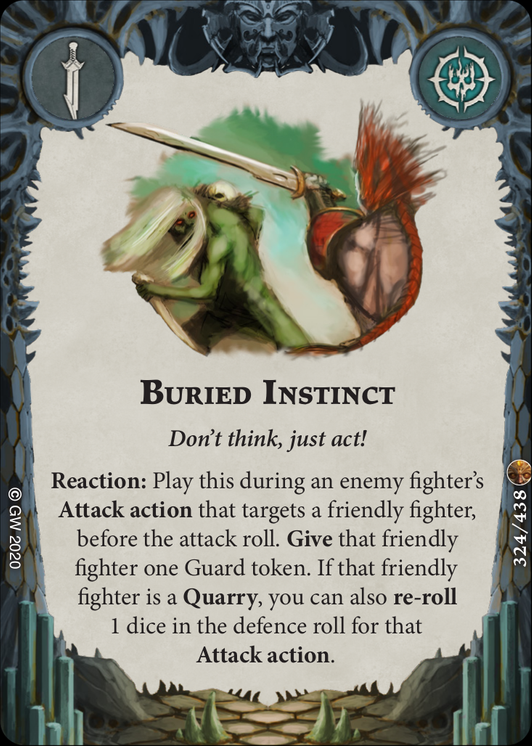
The Gambit cards in the deck are all about staying alive and controlling the board. Distraction, Call of the Grave, Frightful Aspect, Sidestep, Mischievous Spirits, and Restless Prize all help me make sure that my opponent and I are on the right number of objectives at the end of the rounds, and both Dissipate and Buried Instinct help me make sure I alive and on objectives during the round. Spectral Wings is mostly there to help score Gathered Momentum, but can also help making sure I have the movement to inspire a fighter in the early game.
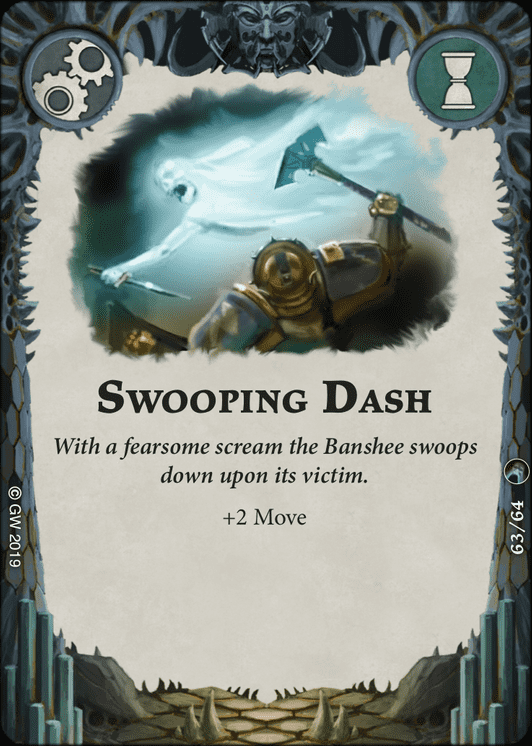
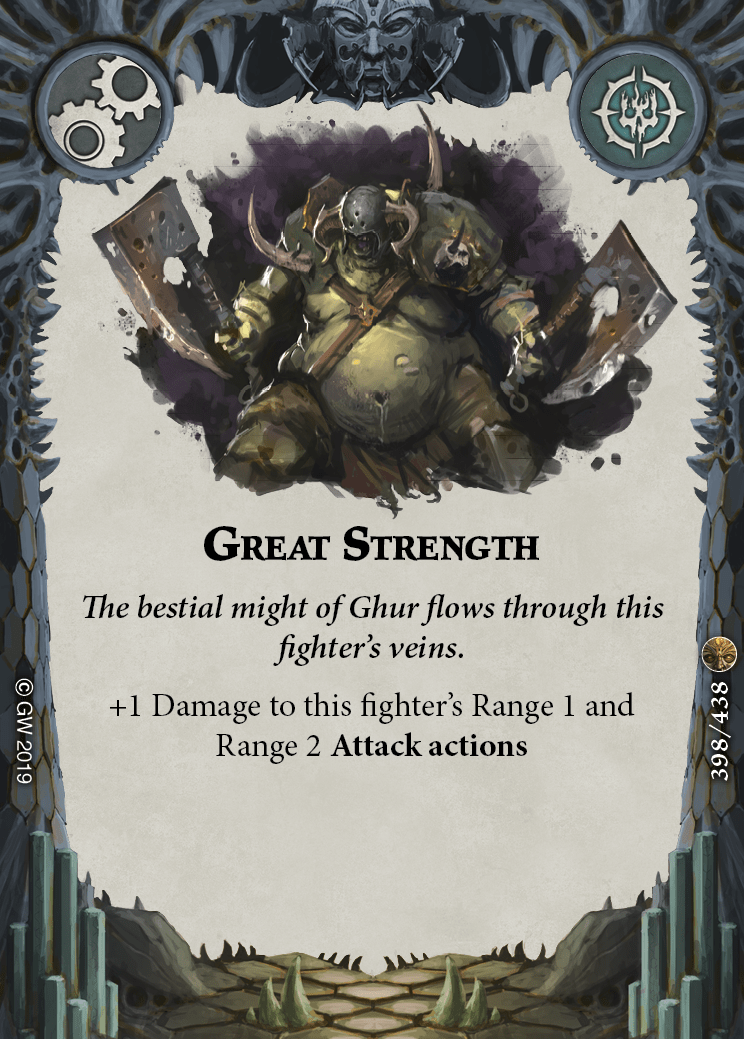
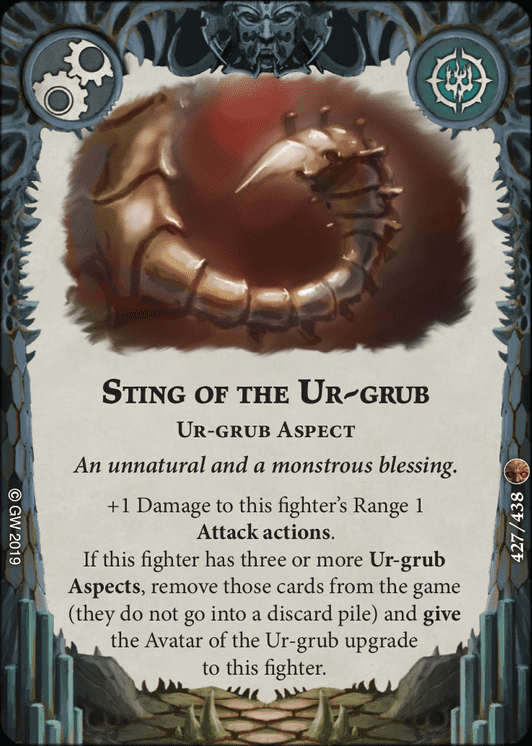
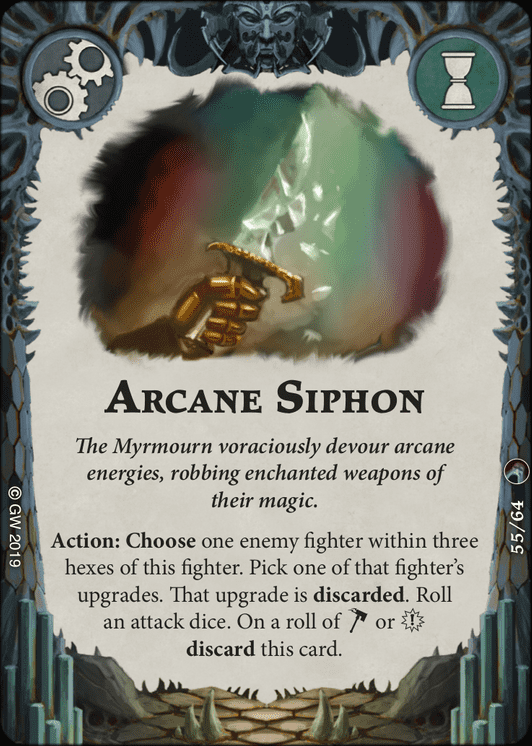
The Upgrade cards in the deck help my fighters to stay alive and increase their attack damage and accuracy. Great Fortitude, Veil of Grief, Debilitating Aura, and Deserved Confidence all make my fighters harder to kill (and Deserved Confidence is also great for keeping fighters on objectives), while Great Strength, Sting of the Ur-Grub, and Maddening Hunger all help beef up my attack actions. Swooping Dash is basically just another Spectral Wings in upgrade form, Amberbone Sword is a nice glory boost (and is nice to give to the Widow), and Arcane Siphon is a neat tech card to help remove powerful upgrades off of important enemy fighters.
With 18 glory total, and another possible glory in the upgrade section, I think this is a very respectable amount for this warband, since I should be good at stopping enemy scoring, and can only give up 4 glory from kills. I notably did not include any Primacy cards, not because I think this warband is bad at Primacy per se, but I don’t think I need it to do well and didn’t see any Primacy cards that really stuck out to me.
Changes to Version 2:
The first deck you build is rarely perfect, so after a few games I made some changes.
With 5 Dual objective cards in the deck, I found Meticulous Strategy fairly reliable, and I like that if I have met the condition there is nothing my opponent can do to stop it, but ultimately I found that it was a little too likely to be un-scorable in the first round, so I changed it out for Ghostly Torment, which is scorable in the first round, though it can sometimes be difficult to do so in some match-ups.
I also wanted to try out a bit of an experiment, and removed Spectral Wings, Swooping Dash, and Gathered Momentum. My reasoning here was that although I like scoring Gathered Momentum it sometimes bricks in the first round if I don’t have a way to boost my speed in my starting hand, which would make me do-over my power hand too often. And, though the speed is nice to have in some cases when it comes to scoring other cards or inspiring, I generally thought that the value of these cards was much lower when I was not also scoring Gathered Momentum. One other way around this would be to take card draw or more speed cards, but I opted not to do this, and removed them instead in order to make a deck that had no possibility of bricking due to card draw.
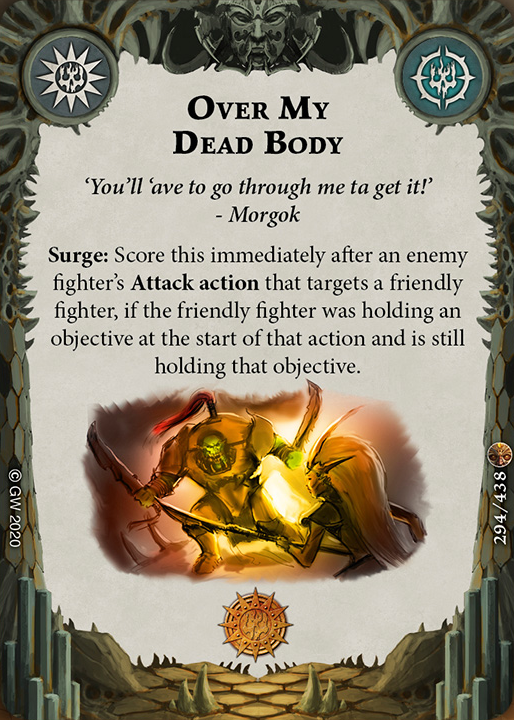
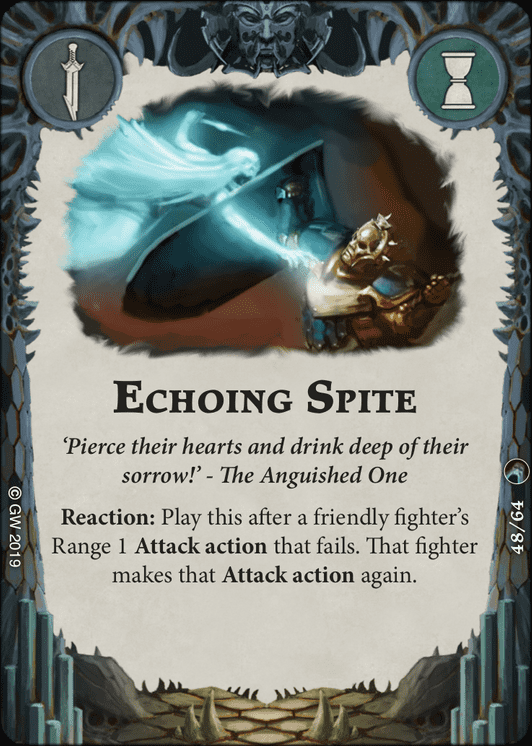
To replace the speed package, I put in Over my Dead Body, Echoing Spite, and Hollow Hatred. Over my Dead Body is fairly reliable due to cards like Buried Instinct and Deserved Confidence (and it’s a lot of fun to score cards in your opponent’s activation!), Hollow Hatred helps me land more attacks in a meta without a lot of great universal accuracy cards, and Echoing Spite allows for important second tries at attacks, and allows me to charge, miss, inspire, and attack again with the inspired side of the fighter card due to the way the reaction and inspire timing works, which can be very powerful at times.
The I dropped Arcane Siphon for Vortex Stone. Both cards are tech cards and can probably both win you games, but I found the requirement for Arcane Siphon to use an activation to be a little expensive tempo wise, and hadn’t seen it be very useful in my games so far. I wanted to try out Vortex stone, as it seems possible useful for controlling the board state.
This brought the deck to version 2, shown here:
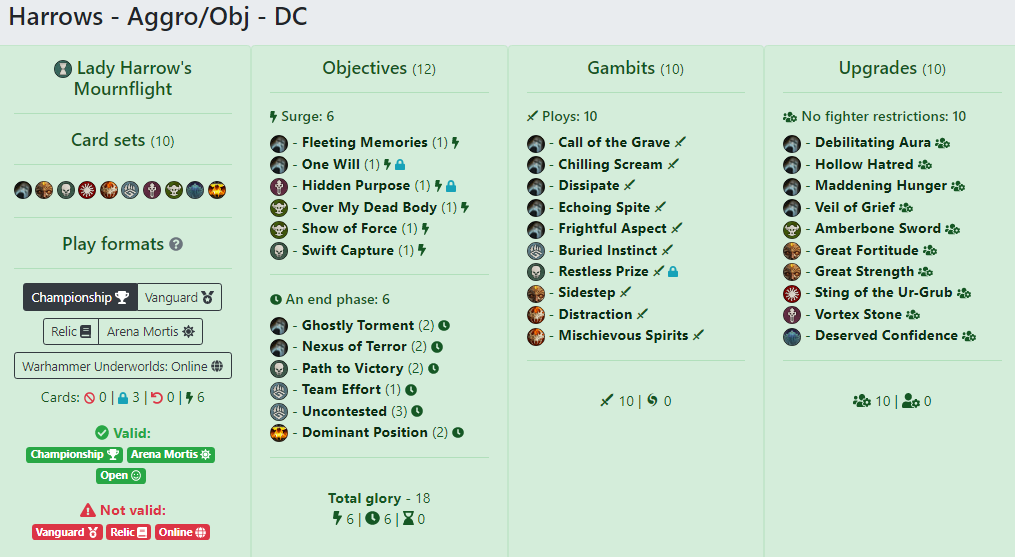
This deck was a lot of fun to play, and I think it worked significantly better than the previous version.
To test of this deck I did two important things. First, I played at least 6 practice games (which you can actually watch the recordings of these practice games if you are a Path to Glory Patreon member), and sent the deck to other players to get their opinion on it (a shout out to the Patron’s in our #deck-doctor discord channel for their help here!) and see if I had missed anything.
After my practice games, I also always make sure to chat with my opponent and see what we think I could have done better, what I did that really messed them up, or if there was anything I missed in their strategy. I find that this process really helps me learn the most from my practice games.
The comments and practice game experience lead me to make the following changes to the deck:
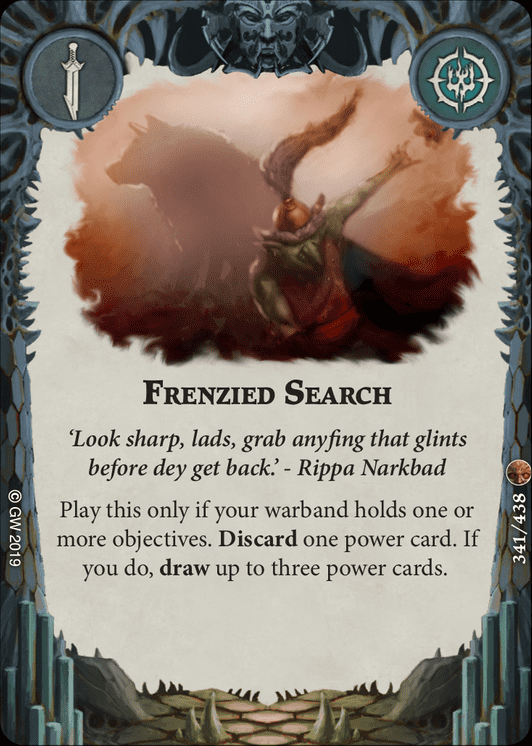
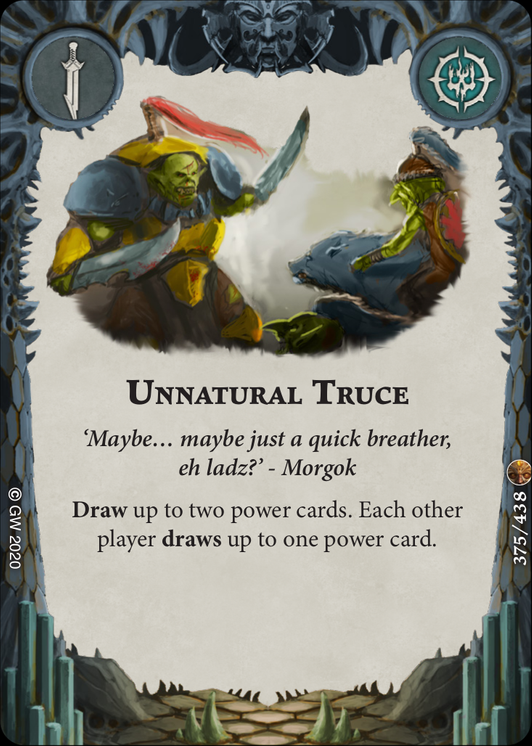
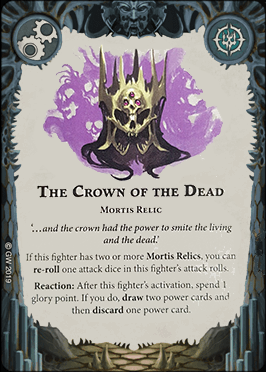
First, I decided I needed some card draw! Having so much of my deck’s glory wrapped up in the end phase positioning, I could not afford to let my opponents out-card me with pushes or cards like Restless Prize. This lead me to drop One Will and Dissipate in favor of Frenzied Search. Obviously I think One Will is a solid card, but it’s a little expensive taking up an R slot, and I didn’t think the other card draw options (Unnatural Truce, Crown of the Dead, etc) really got me what I needed.
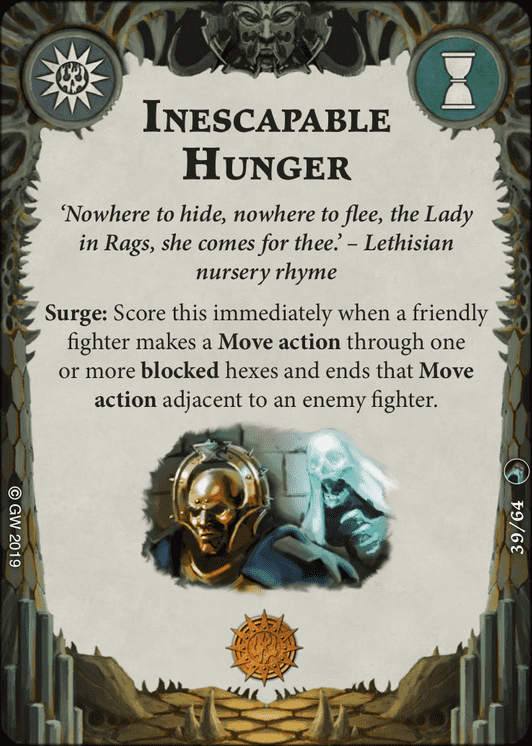
With one surge missing and no more Dissipate, I dropped Over my Dead Body, Vortex Stone, and Frightful Aspect in order to…take the speed package of Gathered Momentum, Spectral Wings, and Swooping Dash again! I also took Inescapable Hunger.
Although there is still a small chance of Gathered Momentum bricking, having card draw in the deck helps me to avoid this, and it’s usually only in the first round that this is an issue, and even then only when don’t have either of the speed cards, so I decided that was good enough. I still really like Over my Dead Body, but decided that Inescapable Hunger is better because it doesn’t rely on my opponent to attack the right fighter when I need them to (and to not kill that fighter!), even though it does somewhat limit what boards I choose and how I should set them up.
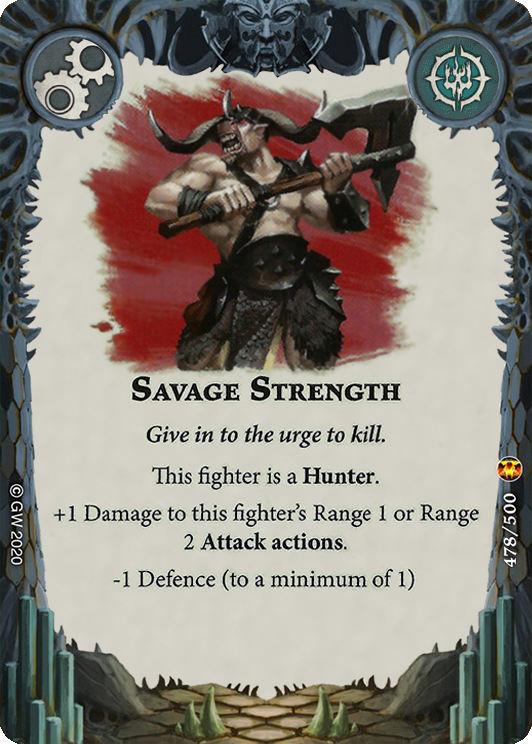
Finally, I exchanged Debilitating Aura with Savage Strength. Although I found that the minus one dice from Debilitating Aura was useful vs melee fighters (or ranged fighters I was next to), the high wounds of some warbands like Krushas and Mollog as well as the popularity of cards like Deserved Confidence caused me to prioritize having the damage I needed to kill big fighters.
With these changes the deck was complete! With a whopping 13 faction cards and only 2 cards from Direchasm, the deck was as follows:
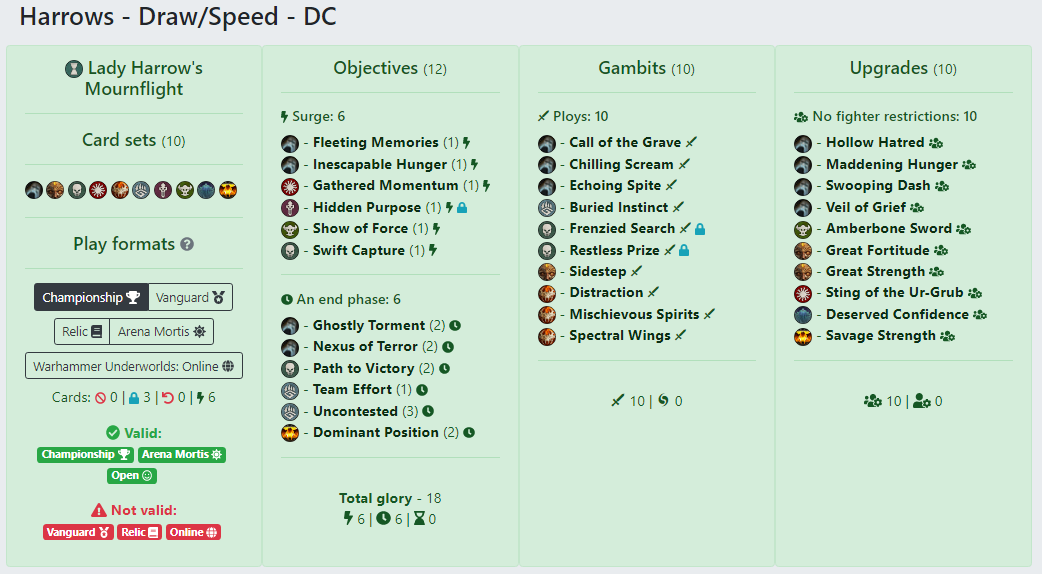
I consider this deck to mostly fit within the “Hold Objective” style of play because I get most of my glory from holding objectives, but secondarily the “Control” style of play, because a lot of those objectives also require me to make sure the opponent is holding fewer (or none for Uncontested) objectives than me. There is also a bit of “Aggro” in the deck, with cards like Ghostly Torment, Gathered Momentum, and Path to Victory and a number of damage and accuracy cards, but that is definitely the tertiary focus of the deck since most of my attacking is either done while I move onto the objectives or done in order to help make sure they are not holding something. I call this type of deck a “hold more” style, since I pretty much always want to be holding more objectives than the other player for Nexus of Terror, Dominant Position, and Uncontested, as well as to deny any similar cards the opponent might have.
I think this deck is very solid at this time, and don’t know of anything I would change after playing some more games (if you think there are any good ideas, though, let me know!). You can find a link to the deck here.
The Event
I played the above deck in the 10th of the “Straight Outta Shadespire” cam game events. I have played in 3 or 4 of these events in the past and found them to be quite fun, with players attending from all over the world in places like the US, UK/EU, and even Australia. If you want to play in the next cam game event, the Straight Outta Shadespire XI event will be on January 2nd 2021, and you can sign up here.
One of the great things about playing cam game events is that you can record and even stream your games! As I have done in the past few events, I streamed my games on the Path to Glory Twitch channel. This means that if you would like to watch my games from the tournament rather than just read about them, anyone can watch the recording of the live stream here.
The format of the event was 4 rounds Best of 1 but in my opinion this deck should work just about as well in a Best of 3 format since it doesn’t really have any tricks it wants to surprise the opponent with and you should gain about as much from learning what your opponent is playing as they do from you.
Going into the event I was fairly confident into most match-ups though I was dreading a Mollog match-up even with all of my damage and health upgrades.
Match 1 – VS Malachy’s Dread Pageant
The first game of the event was against “Malachy” playing the Dread Pageant warband. Right off the bat this is an interesting match-up for Lady Harrows because the Dread Pageant are the warband that can play the most similarly to Lady Harrows. Both warbands have their own version of Dominant Position, have some great push cards, and like to wound but not always kill their enemies (for me to score Ghostly Torment, for them to inspire). Both warbands also tend to lose momentum once they start losing fighters, particularly once they are down to 2 fighters, though I do think the Dread Pageant might be a little better in this regard due to Vasillac’s Range 2 attack action, and the range of Glissete and Hadzu.
Of course the Dread Pageant can also be played more aggressively. with cards like Godseekers and Endless Revel helping out with that playstyle, or even somewhere in between the two playstyles, so I wasn’t exactly sure what to expect. Malachy did have have primacy in his deck, so that may have been an early indicator that his deck would be aggressive.
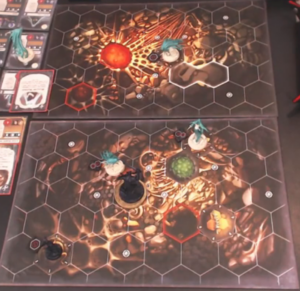
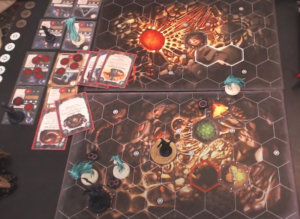
Board Set Up:
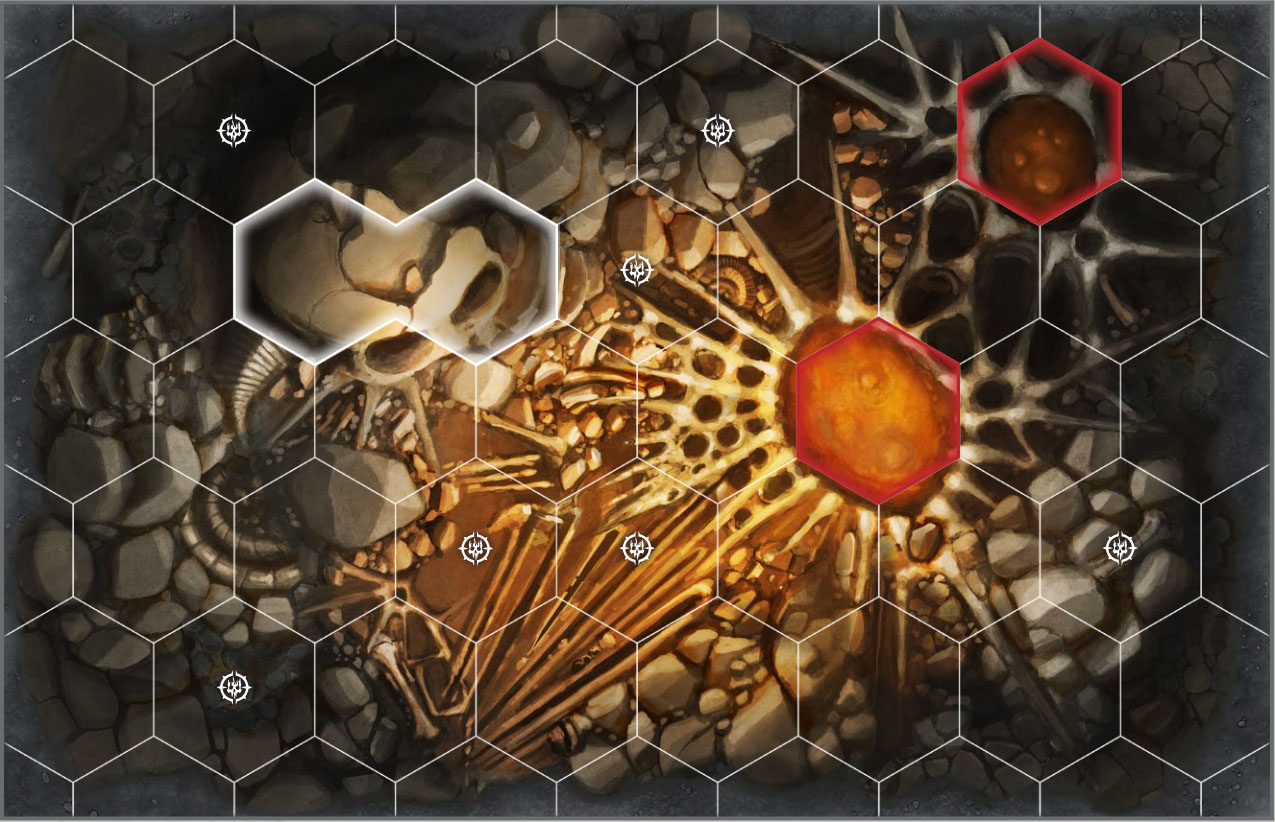
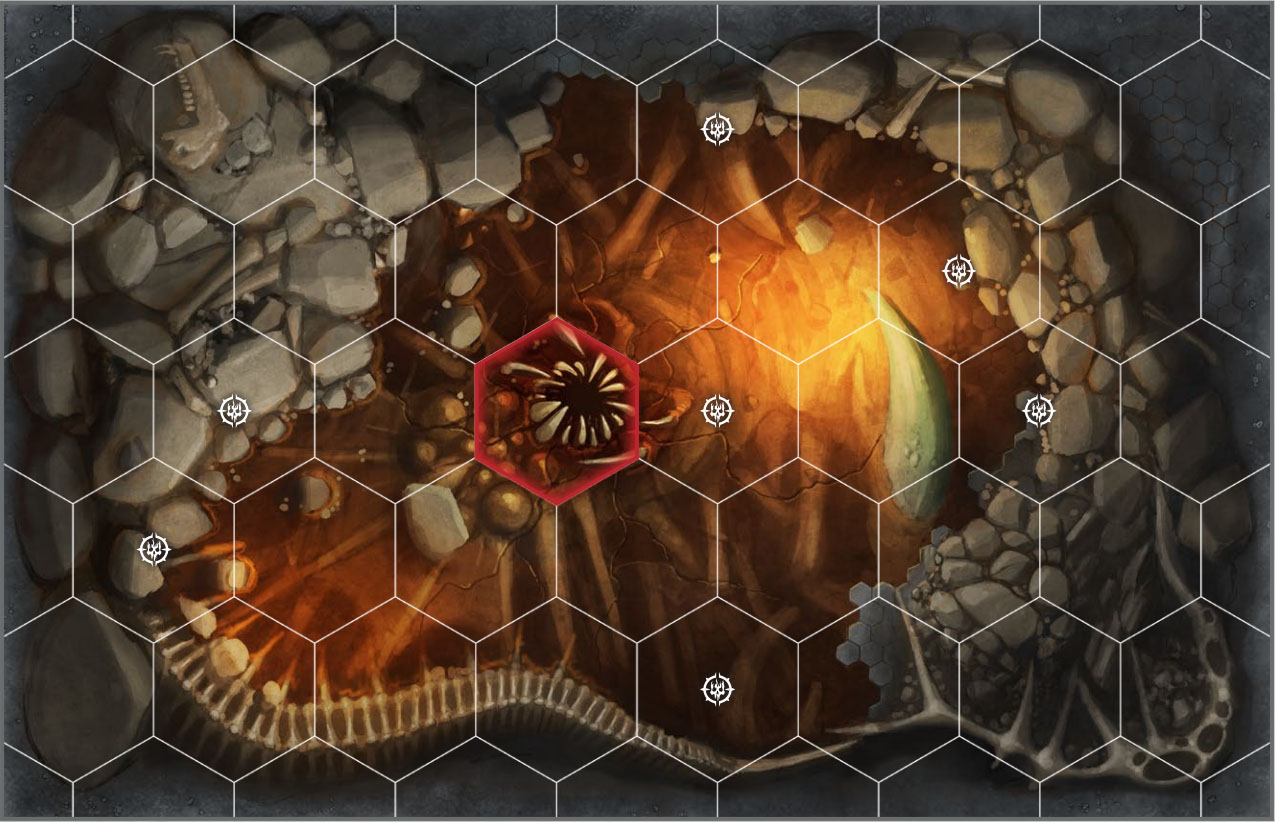
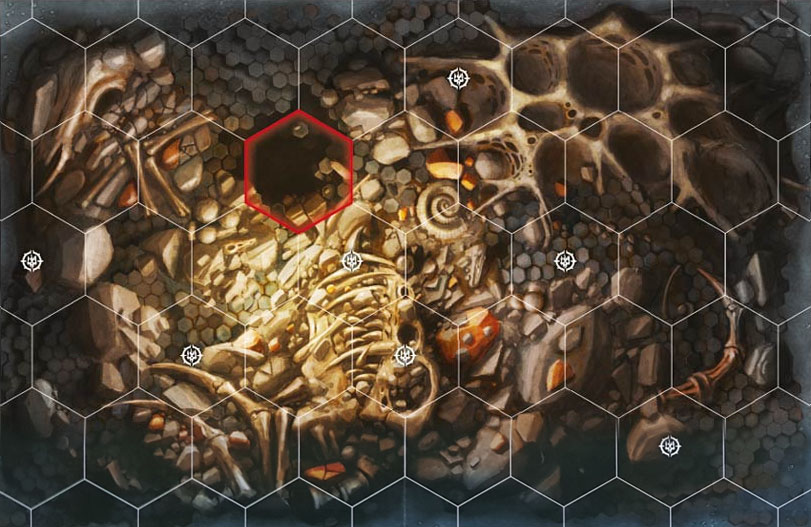
Malachy won the roll off, and decided to have me pick the first board (and have 3 objectives). I chose the Ambertrap Nest, and Malachy set it up wide with the Menhirs of Binding. I placed the first objective in his territory, as shown below:
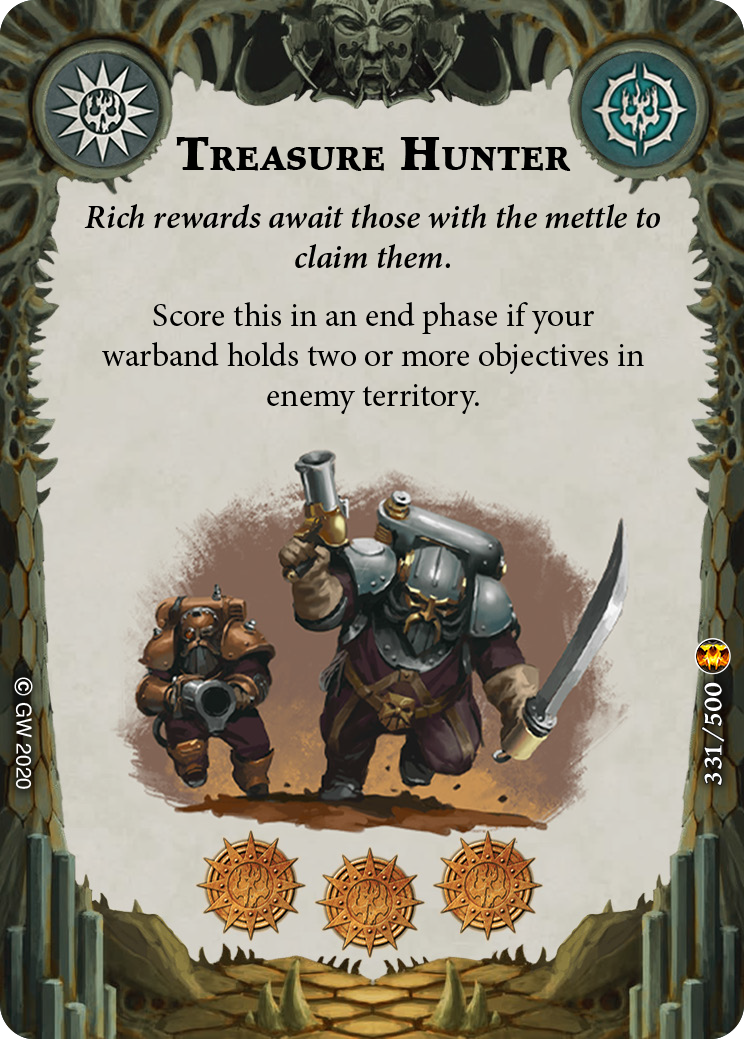
I placed this objective there in order to block out the back half of Malachy’s board from objective placement (it turned out that Malachy actually wanted the objectives to all be on my board for Treasure Hunter, but I didn’t know that!) and to set up for Swift Capture.
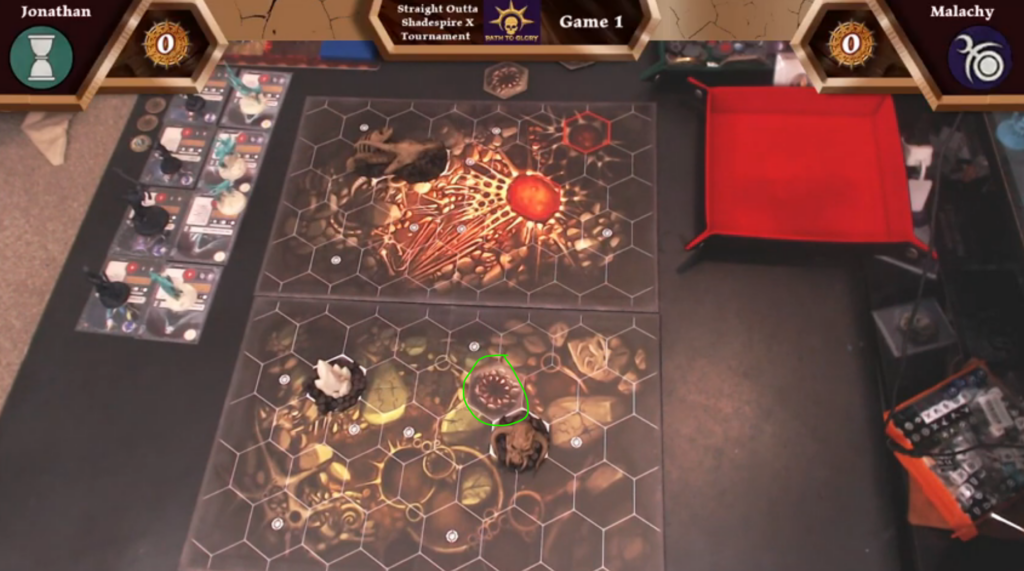
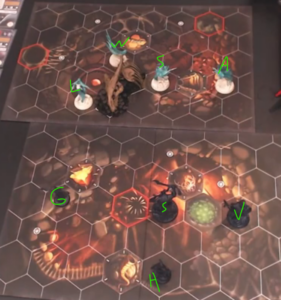
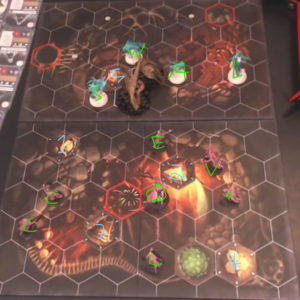
We continued setting up the objectives, and I won the roll off to place fighters. Because we both have 4 fighters, I chose to place first and get the bonus crit. The set up looked like this (sorry for the poor quality on some of these pics, the stream quality isn’t the best at times):
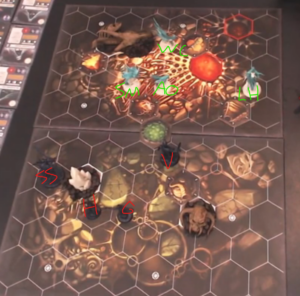
I was fairly happy with this set up because it looked like Malachy may be playing aggressively, which meant that it was very likely I would be able to inspire a number of my fighters in the first round (assuming they stayed alive). I particularly liked the position of Vasillac, as it meant that if I went first I could charge in with the Anguished One to inspire her as soon as possible, as well as score Fleeting Memories for moving through two objectives.
Round 1:
- A1 – I won the roll off and that that is just what I did (though the attack missed Vasillac) with my first activation, changing and scoring Fleeting Memories! (1-0)
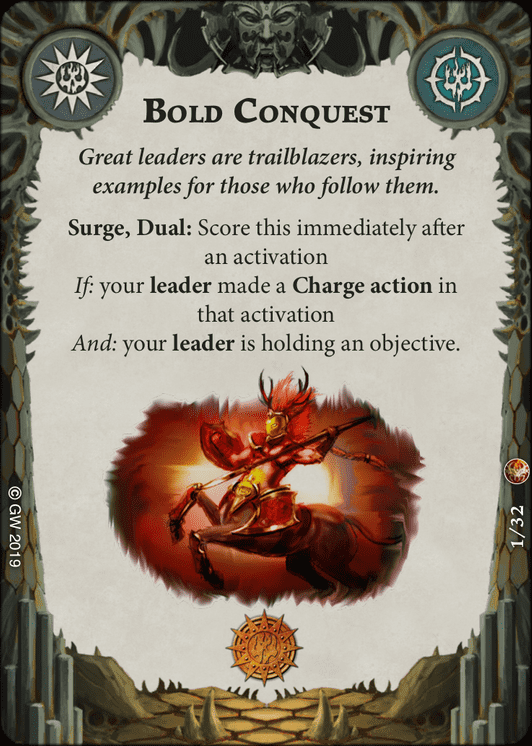
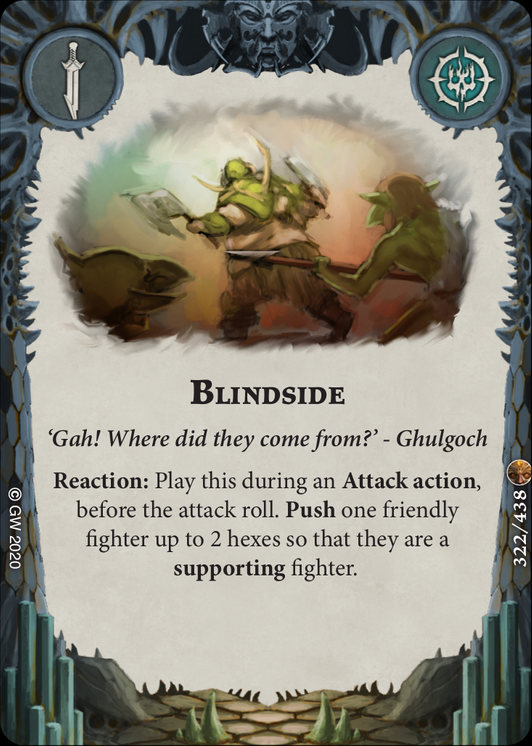
- A2 – Malachy then charged with Vasillac to score Bold Conquest, and uses Blindside to pull Slakeslash to help support, but also missed due to a crit def on the Maiden. (1-1)
- A3 – I scored Hidden Purpose with the Widow by making a Move action. (2-1)
- A4 – Malachy charged The Screaming Maiden with Glissete but I rolled another crit and scored Swift Capture after the activation! (3-1)
- A5 – I upgraded The Screaming Maiden with Hallow Hatred and charge Hadzu to inspire her, but miss the attack. I put Veil of grief on the Widow to help her stay alive.
- A6 – Malachy charges the Widow with Slakeslash and I play Buried Instinct. The attack misses as I roll my 3rd crit def!
- A7 – I play Call of the Grave to push Vasillac next to a lethal and charge with Lady Harrow onto an objective, inspiring her but missing the attack.
- A8 – Hadzu charges Lady Harrow, dealing 1 damage, pushing her off the objective, and scoring Endless Revel. (3-2)
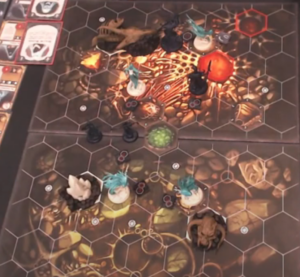
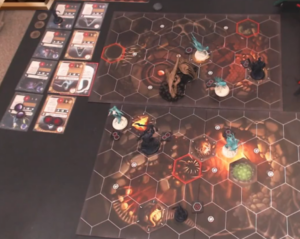
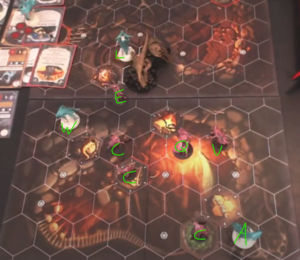
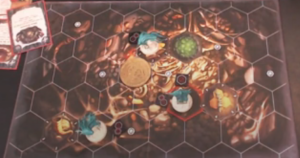
In the end phase the board state looks like this:
Scoring:
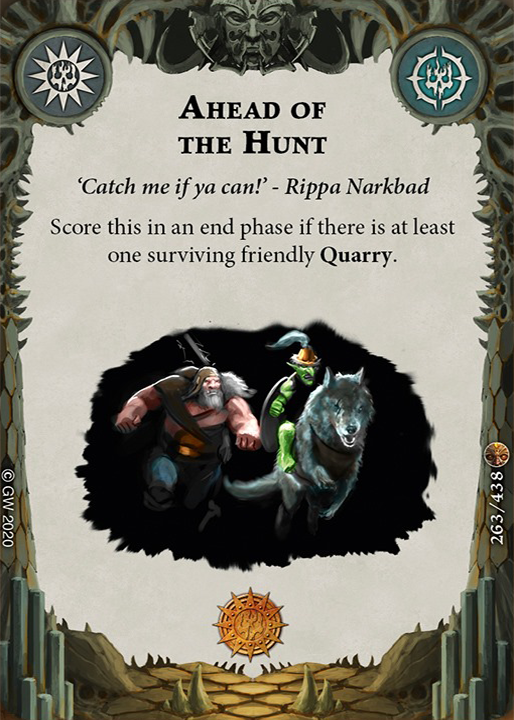
I score first, getting 3 for Uncontested, 1 for Team Effort. Malachy scores 1 for Ahead of the Hunt and 1 for Team Effort. (7-4)
Round 1 was very strange as neither of us landed an attack, but I was happy to have 3 of my four fighters inspired, and very happy to score Uncontested. This round was a testament to the reliability of the objective cards in this deck.
Round 2:
- A1 – Malachy wins the roll off and takes the first action. He attacks the Widow with Vasillac. The attack draws, and he pushes the Widow off the objective she was holding, and scores show of force for having 3 upgrades on Vasillac (7-5).
- A2 – I equip Sting of the Ur-grub and Savage Strength to the Maiden (for Show of Force) and Great Fortitude to Lady Harrow to help keep her alive if I am going to be keeping her close to Vasillac. I charge with the Maiden and miss, scoring Gathered Momentum and Show of Force for my trouble (9-5).
- A3 – Vasillac attacks the maiden but the dice tie.
- A4 – I charge onto an objective with the Widow and miss Slakeslash (so far neither of us have landed an attack yet this game!), but score Inescapable Hunger and inspire. (10-5)
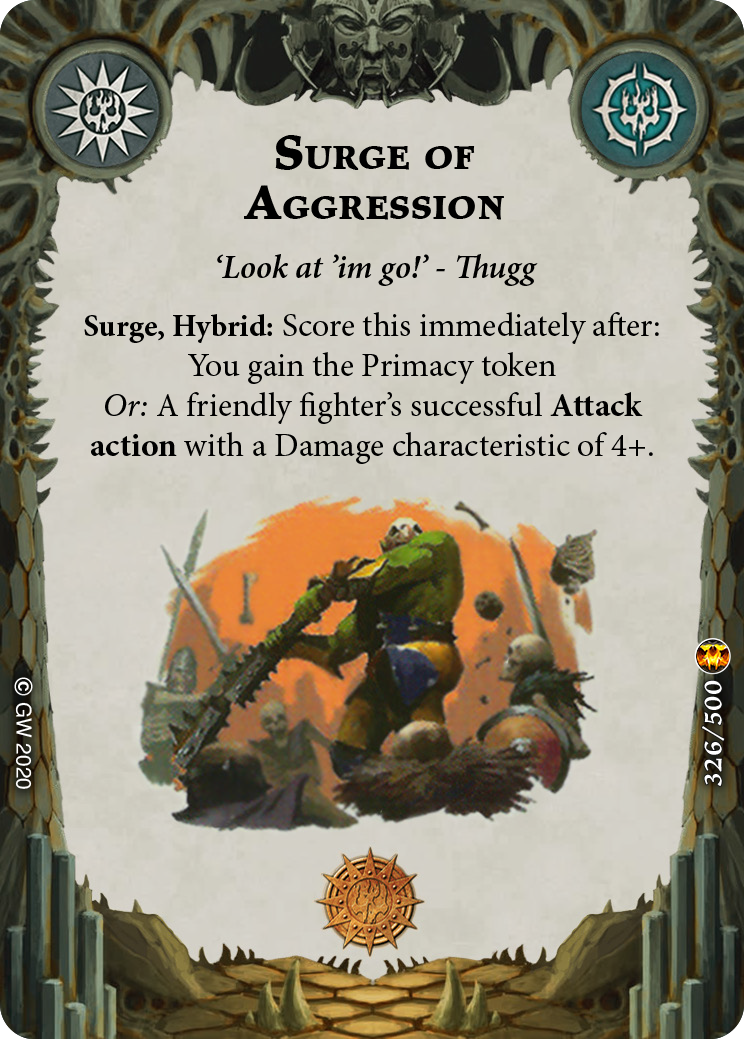
- A5 – Vasillac charges onto an objective and finally lands an attack, killing the Maiden, gaining the Primacy token, and scoring Surge of Aggression. Lady Harrow reacts to the attack to push onto the objective next to Glissete. (10-7)
- A6 – Lady Harrow attacks Glissete and kills her with a Crit and a Fury, regaining primacy! (11-7)
- A7 – Hadzu charges onto an objective targeting Lady Harrow, hitting her for 1 damage and pushing her off the objective.
- A8 – Lady Harrow charges Hadzu and kills him. (12-7)
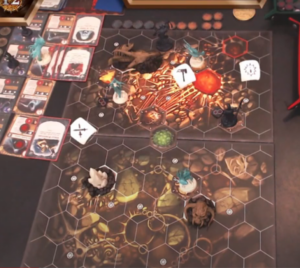
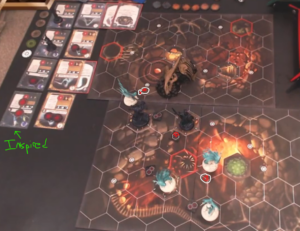
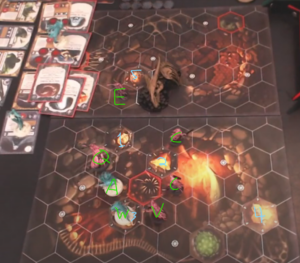
The End Phase looks like this:
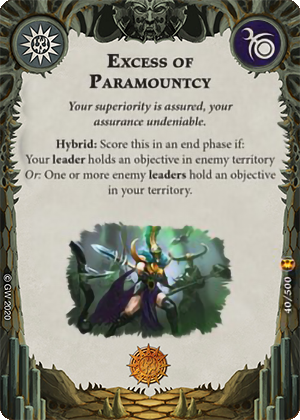
Malachy scores Godseekers for 2, and Excess of Paramountcy for 1. I score 1 for the Primacy token (which I think I forgot to do on the stream), 2 for Dominant Position and 2 for Nexus of Terror. (17-10)
This round also saw me avoid a few important Dread Pageant attacks before the dice turned back on for both players. Lady Harrow landing two attacks on the smaller fighters was particularly nice for me as killing Hadzu stopped his Treasure Hunter, but Malachy still gained a solid amount of glory for only landing a few attacks with a largely aggro deck.
Round 3:
- A1 – Malachy wins the roll off and goes first. He draws a card.
- A2 – I charge with Lady Harrow at Slakeslash and do 3 damage. I can’t drive Slakeslash back because she will then be next to the Widow, so I play sidestep to move Lady Harrow away from him.
- A3 – Malachy plays sidestep to push Vasillac in range of the Widow. I push him back with Distraction, but Malachy then plays his own Distraction to push the Widow next to Slakeslash. I pass, and Slakeslash attacks the Widow with 4 fury and Ensnare from Mark of the Dark Prince, and misses!
- A4 – I upgrade the Anguished One with Swooping Dash, then charge the widow at Slakeslash (blocking his path to Lady Harrow), but miss.
- A5 – Malachy attacks the Widow with Slakeslash, dealing 3 damage to her. She now only has one wound left from Veil of Grief.
- A6 – I put Great Strength on the Anguished One and charge Slakeslash, but miss. Then I play Chilling Scream to shut down any power cards before Malachy’s last activation.
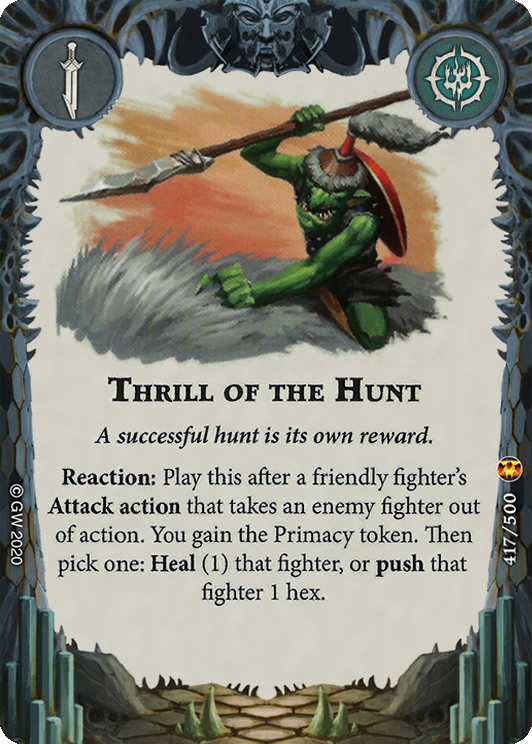
- A7 – Vasillac charges the Widow and kills her, playing Thrill of the Hunt to gain the Primacy and push onto an objective. (17-11)
- A8 – I draw a power card, then play Mischevious Spirits to take Vasillac’s Objective away (we didn’t move the other objectives, because we agreed it wouldn’t matter for the game.)
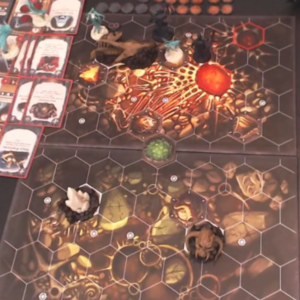
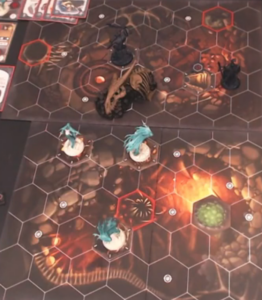
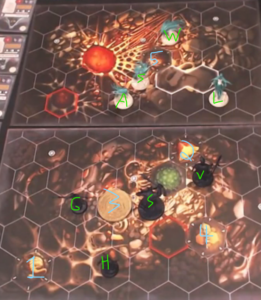
The End Phase looks like this:
Scoring:
Malachy scores Committed for 2 glory, and the Primacy for 1. I Score Ghostly Torment for 2, and an end result of 19-15 to me.
Thoughts on the game:
This game was very dicey, and unfortunately for Malachy, his deck relied a lot more on those dice than mine did. I actually ended up benefiting from early inspires, and frankly got a bit lucky when it came to landing the 1-2 critical attacks I needed to.
With the first match completed I move on to the second match of the day…
Match 2 – VS BrizzieBeast’s Dread Pageant
And it’s time to fight more Dread Pageant! There are only 3 Dread Pageant players at the event, but so far I’ll be playing 2 of them!
BrizzieBeast was not using Primacy.
Board set up:
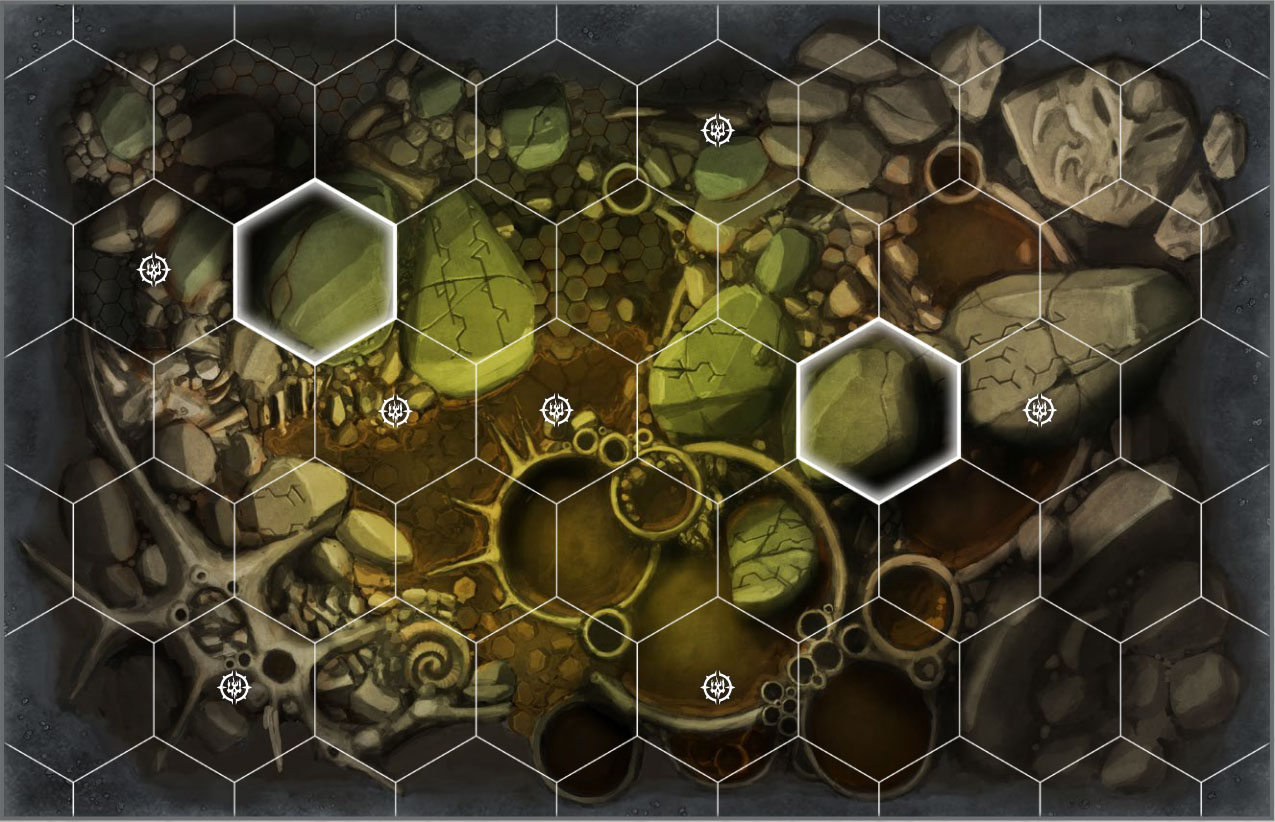
I won the roll off and gave BrizzieBeast the first board choice and 3 objectives. I did this because I wanted to make sure I could set the boards with blocked hexes up the way I wanted, and figured I had the speed to get into his area as needed. BrizzieBeast picked the Pool of Fangs and I picked the Shade Cursed Lair. I like the Shade Cursed Lair when I am placing boards because I can put the two blocked hexes in the front to set up for Inescapable Hunger.
The boards and objectives looked like this after set up:

I like this set up because 4 of the objectives are within reach of my fighter’s movement, and if an enemy fighter is placed in the front most starting hex, 2 of my fighters will be in range of charging through them onto the objective on the right and inspiring.
BrizzieBeast wins the roll off for fighter placement, and chooses to place first. We place our fighters and the board looks like this:
I don’t love this board state because BrizzieBeast did a great job avoiding the front most starting hex, meaning that my fighters will likely have a harder time inspiring than normal. I can still reach the objectives, though, and I’m hopeful that he will have to move forward eventually and I will be able to inspire at least a few of them.
My starting hand for this game was also a tough one: I had Nexus of Terror, Dominant Position, and Path to Victory! This is 6/18 of my glory, and knowing that the Dread Pageant are likely to have as many or more high glory cards in their deck, I didn’t feel like I could afford to do over my hand and throw them away. This meant that my first round would have to focused entirely on inspiring my fighters and working to hold more objectives than my opponent in hopes of a solid end phase scoring and a explosive round 2 when my surges starting coming out.
Round 1:
- A1 – BrizzieBeast wins the roll off and choses to activate first, moving Glissete onto objective 2 on his board, close enough for Lady Harrow to charge and inspire.
- A2 – I charge Lady Harrow at Glissete (38% chance to hit) and am lucky enough to kill her with a single fury, inspiring along the way! (1-0)
- A3 – BrizzieBeast moves Hadzu into objective 1 on the back edge of his board.
- A4 – I move the Widow onto objective 4 on the back edge of my board.
- A5 – BrizzieBeast charges onto objective 2 with Slakeslash, hitting Lady Harrow for 2 damage and pushing her away from the objective.
- A6 – I upgrade the Anguished One with Maddening Hunger, then play Call of the Grave to pull Vasillac closer to me, setting up a charge + inspire onto objective 5. BrizzieBeast then plays Distraction, pushing the Anguished One out of range of objective 5 and ruining my plans. We finally both pass, and I charge onto objective 5 with the Screaming Maiden instead, inspiring her but missing the attack on Vasillac. (Note: This highlights a card order mistake on my part: I should have played Call of the Grave first, and then if he had countered with Distraction on the Anguished One right away, I could have put Maddening Hunger on the Screaming Maiden instead!)
- A7 – BrizzieBeast charges Vasillac onto objective 3 in my territory, targeting the Anguished One, misses, but scores Bold Conquest. (1-1)
- A8 – I charge the Anguished One at Vasillac, hitting for 2 damage and inspiring, as well as knocking him off the objective. At this point we are both holding 3 objectives, and no one is holding objective 3, so my only hope of scoring Nexus of Terror and Dominant Position is to play Mischievous Spirits to pull objective 3 under the Anguished One, letting all of the other objectives be pushed next to their current holders, and hoping that BrizzieBeast doesn’t have a card that can counter my strategy. I play Mischievous Spirits, but BrizzieBeast counters with Restless Prize and steals objective 3 back under Vasillac! This leaves me with no objectives at all, and no way to score any of my 3 end phase objectives! I play Sidestep to move the Widow onto objective 4 in hopes of stopping any of BrizzieBeast’s “hold more” cards, kicking myself for using Call of the Grave earlier when it would have now been so useful!
The End Phase looks like this:
Scoring:
BrizzieBeast scores Ahead of the Hunt for 1 glory, and I score nothing. (1-2)
At this point I throw away both Nexus of Terror and Path to Victory and draw more objectives. As good as these cards are, I know that I have to get some surges scored soon in order to properly tool up my fighters in the next round. I am very sad at this point that I have scored so little glory, but thankful that BrizzieBeast was also not able to score very much. Looking at the board state, I know that I am in a reasonable good spot with 3 inspired fighters and no fighters out of action, but BrizzieBeast is also very close to inspiring his own warband, with 4 total wounds on fighter cards split between Lady Harrow and Vasillac, so it’s still anybody’s game.
Round 2:
- A1 – I win the roll off and charge Hadzu with the Anguished One. I do this in order to get the Anguished One away from Vasillac’s attack range and to score Show of Force for having 3 fighters in enemy territory. I miss the attack (69% to hit!) but score Show of Force. I then play Frenzied Search, throwing away Swooping Dash (because I also have Spectral Wings in my hand). (2-2)
- A2 – BrizzieBeast charges Slakeslash onto objective 3 attacking Lady Harrow, using Mark of the Dark Prince to gain Ensnare at the cost of one damage (54% to hit), but misses the attack. He then upgrades Vasillac with Great Fortitude.
- A3 – I play Spectral Wings and charge Lady Harrow 7 hexes through objectives 3 and 1, ending 5 hexes away from where she started, attacking Hadzu with support (74% to hit). I roll a double Crit, killing Hadzu and scoring Fleeting Memories and Gathered Momentum. (5-2)
- A4 – BrizzieBeast draws a power card. At this point he only has Vasillac left to activate, but none of my fighters are in attack range or really a threat to killing him, so I think this is the right move for him.
- A5 – I give the Widow Hollow Hatred and through the blocked hexes at Slakeslash, missing despite the dice re-roll but scoring Inescapable Hunger. (6-2)
- A6 – BrizzieBeast draws another power card.
- A7 – I play Restless Prize to move objective 2 under the Widow, and move onto objective 5 with the Screaming Maiden to score Hidden Purpose. I think this is very possibly a mistake on my part, as it might have been better to save Restless Prize for the last power step, but it’s hard to say. I upgrade the Widow with Great Strength mostly to set up for adding Deserved Confidence. BrizzieBeast played Mischievous Spirits and steals objective 2 from the Widow, putting it back under Slakeslash. I make an error and move objective 4 for no reason when I probably should have moved objective 1 under the anguished one, but BrizzieBeast moves 5 instead to set up a charge for Vasillac, so I am still able to grab objective 1. (7-2)
- A8 – BrizzieBeast charges onto objective 5 and hits the maiden for 2, pushing her away and inspiring his warband.
The End Phase looks like this (with some painted corrections to the token/card state lol):
Scoring: I scored Team Effort for 1 glory and nothing else. I discard Uncontested because I’m not confident I will be able to score it in the final round, and put Deserved Confidence on the Widow. BrizzieBeast scores Excess of Avidity, Excess of Indolency, and Dominant Position each for 2 glory for a total of 6 glory. This puts us both at 8 glory! (8-8)
Obviously I had a fairly good round scoring 5 surges during the round and taking out Hadzu, but I definitely think I could have managed my power cards better in order to preserve the End Phase for myself, and deny BrizzieBeast’s scoring. This was the second round I failed to score Dominant Position, and I can’t help but think I should have saved Restless Prize for the very end instead of greedily scoring Hidden Purpose and allowing BrizzieBeast to tighten things up.
Going into the 3rd round I am still in a solid position with four fighters to BrizzieBeast’s two, but it’s STILL anyone’s game.
Round 3:
- A1 – BrizzieBeast wins the roll off and attacks the Widow with Slakeslash. I block the reaction of Mark of the Dark Prince with Buried Instinct, and the attack (61% to hit) misses. He then plays Ferocious Resistance on Vasillac, healing him 1.
- A2 – I move the widow onto objective 4 to score Swift Capture, but BrizzieBeast scores Show of Force for having 3+ upgrades on Vasillac. (9-9)
- A3 – BrizzieBeast applies Vortex Stone to Vasillac and moved onto objective 3, pulling the Widow off of objective 4 with
- Vortex Stone and scoring Swift Capture and Hidden Purpose. (9-11)
- A4 – I move the Maiden to objective 5 and apply Great Fortitude the Widow.
- A5 – BrizzieBeast attacks the Widow, dealing 3 damage to her.
- A6 – I draw a power card.
- A7 – BrizzieBeast charges the Widow with Slakeslash, killing her. (9-12)
- A8 – I move onto objective 2 with Lady Harrow, then play Chilling Scream to stop anymore of BrizzieBeast’s power cards. I then play Distraction, pushing Vasillac off of objective 3.
The End Phase looks like this (again I am bad at putting tokens down, lol):
Scoring:
BrizzieBeast scores Team Effort for 1 glory. I score Ghostly Torment for 2 glory, and Dominant Position for 2, for an end result of 13-13, with me holding more objectives and winning via the tiebreaker!
Thoughts on the game:
This game really could not have been much closer, and was simultaneously very enjoyable and very stressful to play. BrizzieBeast did an amazing job of ruining my end phase scoring in the first two rounds, and had a very strong end phase in round 2 that almost won him the game. I am very glad I was able to secure the win, but also think this game helped enforce in my the importance of saving my more powerful gambits for securing my end phase objectives, especially against a warband with as much disruption as the Dread Pageant.
Match 3 – VS RG’s Thorns of the Briar Queen
The 3rd match of the event was against RG playing Thorns of the Briar Queen. I don’t think I have played against the Thorns in the Direchasm season at all, and despite their recent “nerfs” in the Direchasm FAR list where two more of their cards were Restricted, I was still pretty sure they would be a challenge. The thorns have a lot of very powerful fighters, and it’s difficult for the Mournflight to contest their objectives once the Thorns secure them with the Varclav push. I also knew it was very unlikely I would be able to score Uncontested at all, and that cards like Path to Victory, Dominant Position, and Nexus of Terror would be tricky.
RG was also using Primacy in his deck, so that was something else to keep aware of.
Board Set Up:
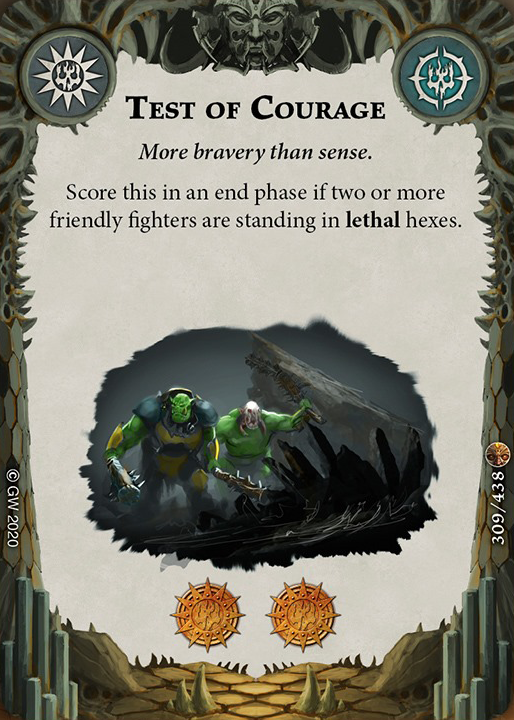
RG won the roll off and chose to pick the first board and have 3 objectives. He picked the Pool of Fangs and, just like the previous game, I picked the Shade Cursed Lair and set them up very similarly to the previous game. RG set up his objectives perfectly, and although I was able to force two of them to be fairly close to me inside his territory, none of them were in very appealing places. Although neither of us can take damage from them, RG did place a lethal in order to help score Test of Courage.
After we deploying the fighters the boards looked like this:
I did not like this set up very much, because although I could charge onto objective 2 and inspire either the screaming maiden or the Anguished one I was not very likely to land the attack, and doing so would inspire all three of RG’s best fighters! I was able to make sure that objectives 1 and 5 were in range of the Maiden incase I drew into Fleeting Memories.
Round 1:
- A1 – I win the roll off and decide to go first. I charge the Screaming Maiden through the blocked hex at the Ever-hanged. I miss but score Inescapable Hunger, and inspire the Screaming Maiden. (1-0)
- A2 – RG played Distraction to push the Screaming Maiden into range of the Briar Queen, then activates to inspire the Ever-hanged and use Varclav’s ability to push his fighters onto objectives and lethal hexes and score Hidden Purpose. (1-1)
At this point the board looks like this:

- A3 – I move the Widow through objective 5 onto objective 1 to score Fleeting Memories. RG scores Temporary Victory. (2-3)
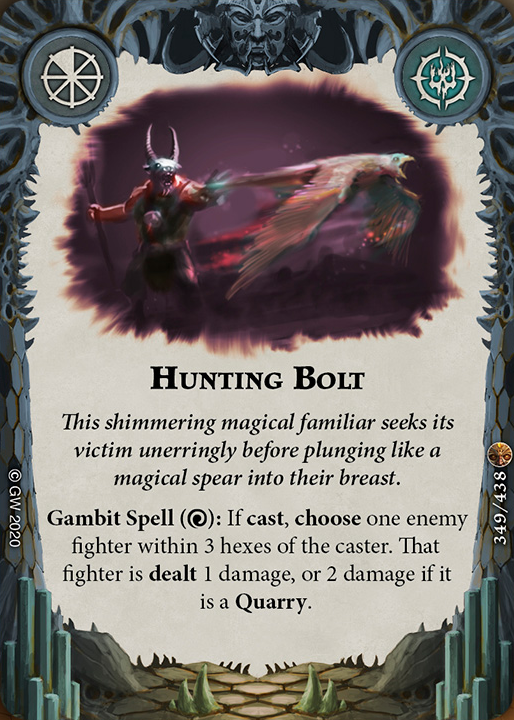
- A4 – RG plays Hunting Bolt, but fails to cast it. I upgrade Veil of Grief onto the Widow. RG puts sting of the Ur-Grub onto the Ever-hanged. The RG activates and charges the screaming maiden with the Ever-hanged, but we both roll a single crit. He pushes the Screaming Maiden next to the Queen to set up a future inspire.
- A5 – I move the Lady Harrow onto objective 5 to score Swift Capture and Hidden Purpose (surge number 4 so far), and put great fortitude on the Maiden. (4-3)
- A6 – RG inspires the Queen and a Chainrasp and attacks the Maiden with the Queen, hitting her for 3 damage (1 wound left thanks to Great Fortitude.
- A7 – I upgrade Swooping Dash on the Anguished One and charge 6 at the trapped Chainrasp holding objective 4, killing it, gaining the Primacy token, and inspiring the Anguished One. (5-3)
- A8 – RG charges the queen onto objective 2, killing the Screaming Maiden and scoring Savage Exemplar. (5-5)
The board state going into the final power step looked like this:

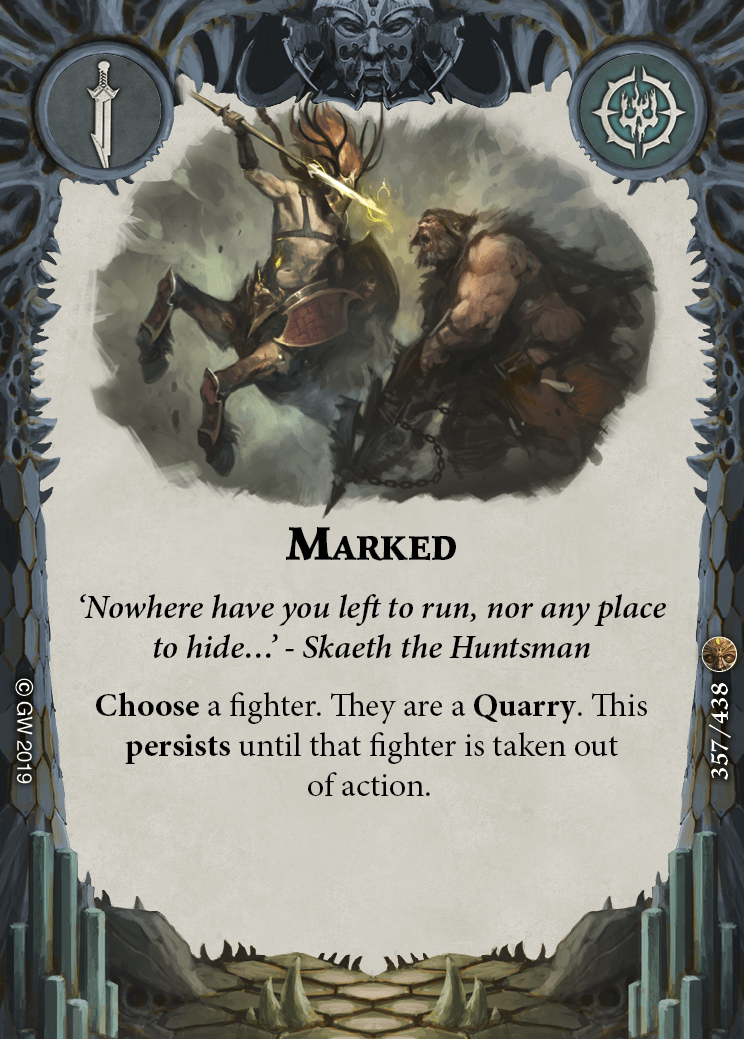
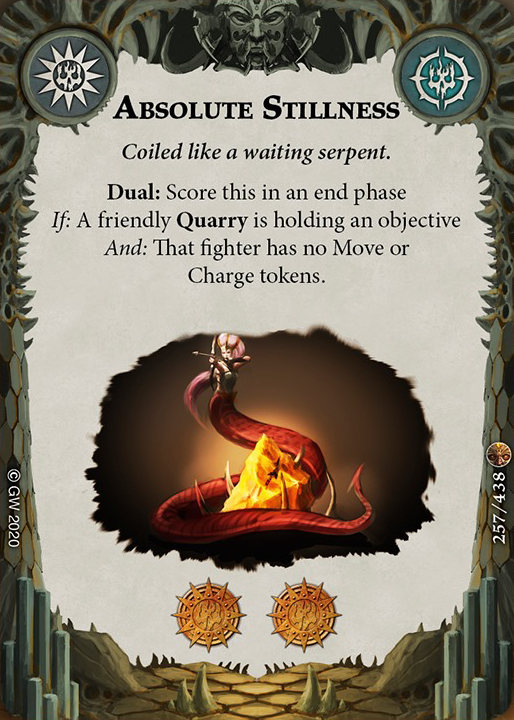
- RG then played Marked on the headless Chainrasp holding objective 3, probably setting up for Absolute Stillness.
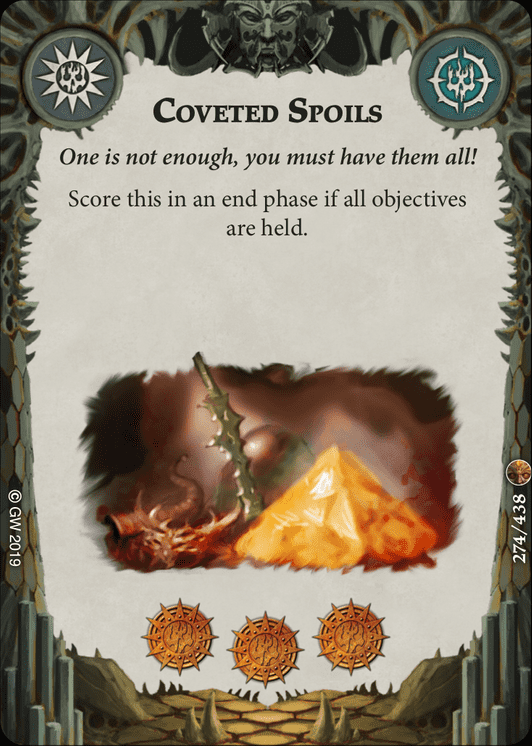
- I play Sidestep to move the Anguished One onto objective 4. At this point I am set up to score Path to Victory and Dominant Position, but RG is potentially set up score cards like Path to Victory, Absolute Stillness, and Coveted Spoils.
- RG passes, so I play Call of the Grave to pull the Marked Chainrasp off of objective 3 towards the Lady Harrow, hopefully stopping anything RG might score while still scoring Path to Victory and Dominant Position.
- RG then ruins my plans by playing Mischievous Spirits! The objectives shuffle around and I end up holding none with RG holding one under one of his Chainrasps.
The End Phase looks like this:
Scoring:
We both score nothing in the end phase! I get the Primacy, though (we forgot about this for a little bit, but fixed it later). (6-5)
I discard Uncontested (too hard in this match-up) and Path to Victory (also difficult with how many fighters I am likely to have by the end of the second round), hold on to Dominant Position, give the Anguished One Deserved Confidence, and draw back up. RG drops his own Path to Victory and we draw back up.
Although I am up by one glory going into round 2, I am not optimistic that I am currently winning the game. We have each lost one fighter, but I am feeling that loss a lot more than RG is, and I have already scored 4 of my 6 surges, meaning I mostly have my end phase cards left, which will be hard to score vs Thorns in general, and even more so if I lose too many more fighters.
Round 2:
- A1 – I win the roll off and choose to go first. I swing at the Chainrasp next to the Anguished One but miss completely despite using Echoing Spite to try the 3 fury, crit ignoring attack action again! I upgrade the Anguished One with Maddening Hunger in order to activate Deserved Confidence.
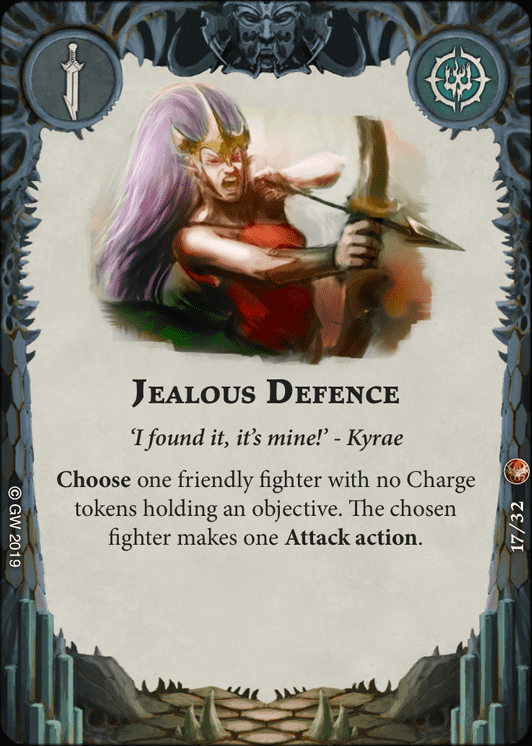
- A2 – RG applies Great Strength and Amberbone Sword to the Ever-hanged (now doing 4 damage with the previous Sting of the Ur-Grub), then uses the Varclav ability to push the Chainrasps onto objectives 2 and 3, and the Ever-handed onto Objective 5. RG then uses Jealous Defence to attack with the Ever-hanged, killing Lady Harrow (but not gaining the Primacy since the attack was not during an activation) for 2 glory from the Amberbone Sword, and scoring Swift Capture. (6-8)
- A3 – I charge the Chainrasp holding objective 3 with the Widow, inspiring her but missing the attack.
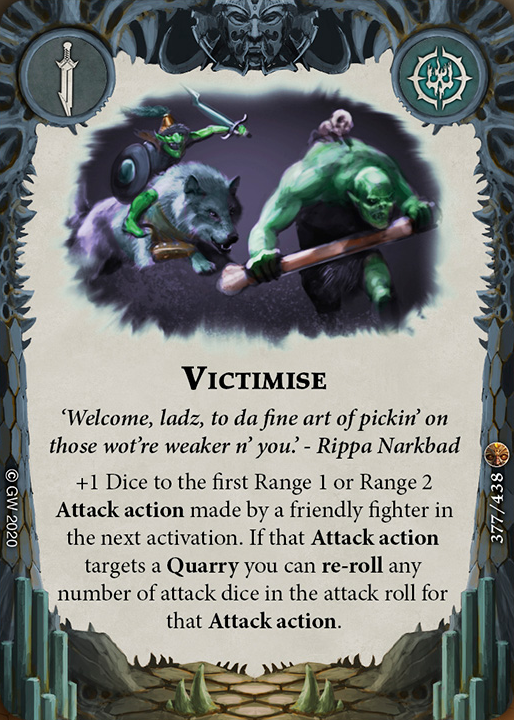
- A4 – RG plays Victimise and charges the Widow with Varclav, hitting for 2 damage.
- A5 – I charge with the Anguished One at the Chainrasp on objective 3, killing it and gaining Primacy. (7-8)
- A6 – RG charged the queen onto objective 1 attacking the Widow (54% to hit), but misses due to a tasty crit def.
- A7 – I draw a power card, with no fighters left to activate.
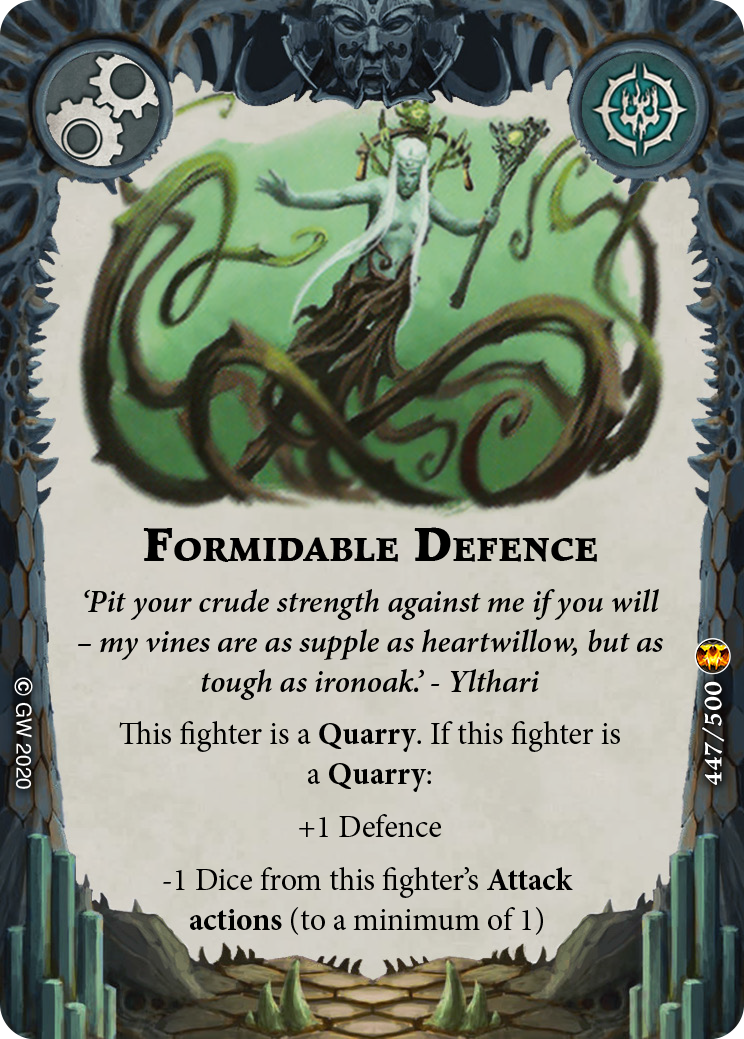
- A8 – RG draws a card, and puts Formidable Defence onto the headless Chainrasp holding objective 2. I put Sting of the Ur-Grub on the Anguished one, mostly just stalling the power step to see if he has any pushes and so on to play. RG passes, so I play Mischievous Spirits, taking the Thorns from holding 3 objectives and me holding none to me holding 1 and RG holding none.
The End Phase looks like this (excuse the mess that are the Anguished One’s upgrades, lol):
Scoring:
RG scores nothing, and I score Nexus of Terror and Dominant Position for a total of 4 glory, and 1 for the Primacy. (12-8)
I throw away Spectral Wings and Ghostly Torment (because I do not expect to have two of my fighters alive at the end of the next round), and draw back up. RG throws away Test of Courage and we go into the 3rd round.
This was a fairly good round for me given the state of the game at the start of the round. Although I didn’t like losing Lady Harrow before she could activate, my other two fighters were able to stay alive due to the numerous health upgrades in my deck and a few important missed attacks by RG. The final Mischievous Spirits allowed me score 4 much needed glory in the end phase, and helped to make up for RG’s own Mischievous Spirits ruining my plans in the first round. Going into rounds 3, my ghost is mostly just to keep my fighters alive if possible, and reduce as much of RG’s scoring as I could.
Round 3:
- A1 – I win the roll off and choose to go first. I charge the Ever-hanged with the Anguished One and kill it thanks to the crit-ignoring nature of her attacks, gaining Primacy and scoring Gathered Momentum and Show of Force. (15-8)
- A2 – RG attacks the Widow with the Queen and kills her. (15-9)
- A3 – I draw a power card, with no fighters left to activate.
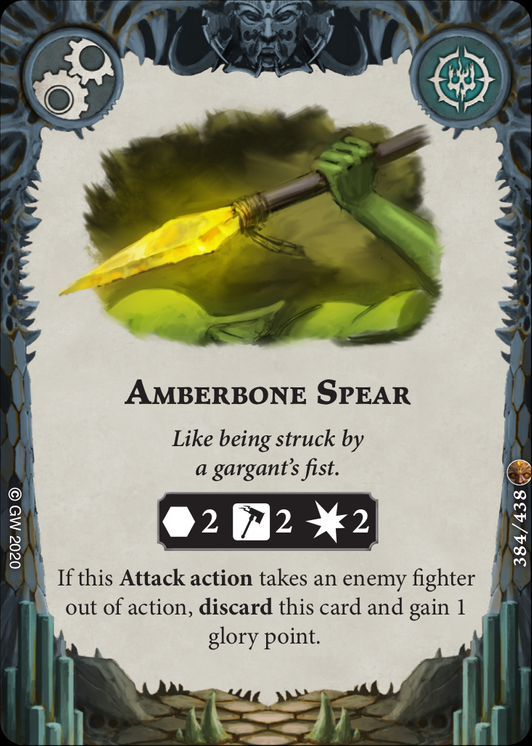
- A4 – RG applies the Amberbone Spear to the queen, then does a Varclav ability, pushing the Chainrasps onto objectives 2 and 3 and Scoring Show of Force for 3+ upgrades on the queen. RG then puts Stoneform onto the Chainrasp holding objective 3. (15-10)
- A5 – I draw a power card.
- A6 – RG moves the queen onto objective 1. RG is now holding 3 objectives, and could gain the Primacy if he holds a 4th, so I play Distraction to push the Queen off of objective 1.
- A7 – I have no power cards left, so I pass for my activation.
- A8 – RG charges the Anguished One to push him off of the objective, but I play Buried Instinct to stop him. We actually don’t roll the dice to see what happens, as we are short on time. RG passes in the power step, so I play Chilling Scream and then Restless Prize to pull objective 3 away from the Chainrasp with Stoneform.
The End Phase looks like this:

Scoring:
I scored nothing, but gain 1 for the Primacy. RG Scores Ahead of the Hunt for 1, and Absolute Stillness for 2, for a total of 16-13 to me!
Thoughts on the game:
This was a very interesting game that barely went my way for a number of reasons. For one thing, I was able to claim the primacy token for all three rounds, giving me 3 extra glory that would have made the difference between a true draw game and winning, and perhaps made a difference for RG’s scoring as well. Because my fighters tend to be fairly hard to one shot with all of the health upgrades and RG’s fighters are easier to one shot, I think I had the Primacy advantage, and was glad that the rules applied to this game. Other than that, the game was obviously very close. If one or two attacks had gone the other way, I would have lost too many fighters to score my objective cards, which also came out in a great order for me to be able to score them, despite RG’s Mischievous Spirits messing up my round 1 scoring. All in all it was a very close game a lot of fun to play.
Final Match – VS Dylan’s Dread Pageant
Aaaaand it’s time to play against the 3rd Dread Pageant player, Dylan! What are the chances, huh?
Both Dylan and I were 3-0 so far in the event, and would be playing for 1st place. Going into the game I was reasonably confident due to having just played the warband a few times, and hopefully having engrained some important lessons about power card and end phase management from the game with BrizzieBeast. I was not sure which of the two previous styles Dylan’s deck would be more similar to, but he didn’t have Primacy, so I guessed it was likely more like BrizzieBeast’s than Malachy’s Dread Pageant.
Board Set Up:
Dylan wins the roll off and takes the first board choice and 3 objectives. He picks Wyrmgrave and I place the Ambertrap Nest wide against it, with the blocked hexes in front to help with Inescapable Hunger.
Between games 3 and 4 I somehow lose my objective token for objective 3 (we used the primacy token to represent it), which flustered me more than I like to admit, and I think I could have placed my objectives better than I did this game, as when everything was said and done, I did not have a great path to score Fleeting Memories, and all of the other objectives were very far away. Of course this was also due to the excellent way Dylan had placed his first objective in the middle of his board, which had starting hexes blocking the typical spot to counter his hoarding of the objectives, so I also should have been more aware of this when I set up the boards.
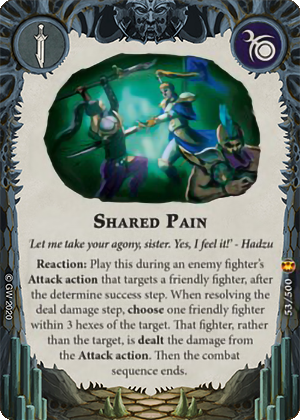
To add to my frustration, I also had to ditch my objective hand of Gathered Momentum (since I had no spectral wings in hand, but otherwise liked my power hand), Path to Victory (I was not confident I would score it with where the objectives were located), and Uncontested (very unlikely in this match-up since we are both probably going to be fighting over the objectives). Luckily for me, Dylan felt he needed to get rid of his power hand: Shared Pain (I was very happy about this one!), Mandibles of the Ur-Grub, Great Strength, Crown of the Dead, and Unnatural Truce. This meant that Dylan likely had more potential glory available in his deck, but my objective was possibly a little bit faster (with 5/4 surges/end phase) and I would likely have access to more power cards over the course of the game.
Dylan won the roll off to place fighters, and chose to place first.
After we deploying the fighters the boards looked like this:
I honestly don’t like this set up much at all. Only Lady Harrow can easily inspire in this current position, two of the five objectives are completely out of reach, and Widow Caitha is sort of in the middle of no where. This is all my own fault of course (I set the boards up)! At this point I am sort of just hoping to have things go decent in the early game to inspire some fighters and score a little glory in the first round without letting Dylan score too much, have hopefully have a good 2nd and 3rd round.
Round 1:
- A1 – Dylan won the roll off and made me go first. I charge with the Screaming Maiden through the blocked hex onto objective 2, hitting Vasillac for 2 (40% to hit), pushing him back a bit next to Slakeslash, and scoring Inescapable Hunger, but not inspiring. (1-0)
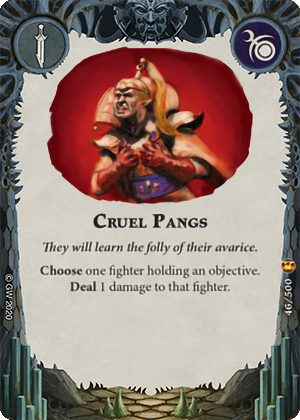
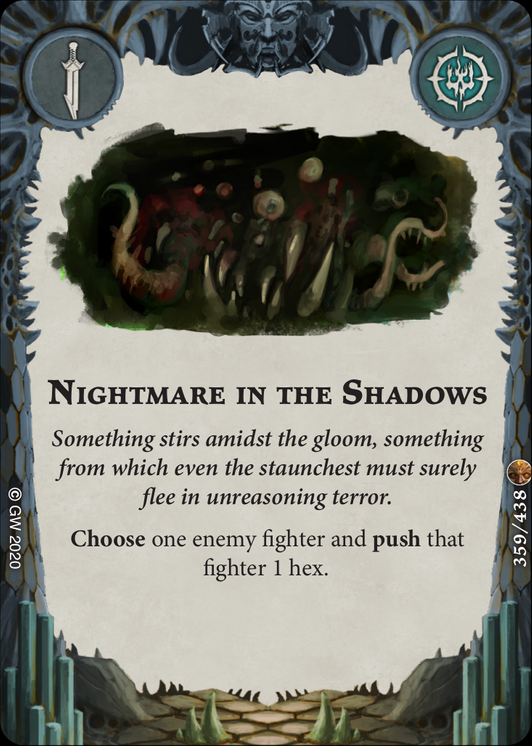
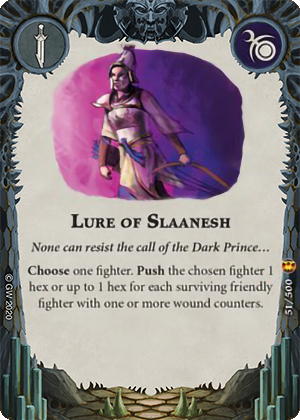
- A2 – Dylan plays Cruel Pangs to deal 1 damage to the Screaming Maiden, then plays Nightmare in the Shadows to pull her into the lethal hex adjacent to Slakeslash and Vasillac. I counter with Sidestep to put the Screaming Maiden back onto the objective, but Dylan plays Lure of Slaanesh to put her back! Dylan then charges with Vasillac onto objective 4, kills the Screaming Maiden (57% to hit) and heals back 1 wound via Vasillac’s reaction. (1-1)
- A3 – Dylan then puts Great Fortitude on Vasillac, but I play Call of the Grave to pull him back into the lethal hex (that is literally the grave of the Screaming Maiden, lol), meaning I need 3 damage to kill him. Then I give Lady Harrow the Sting of the Ur-Grub and charge her through Vasillac then back onto objective 2 attacking Vasillac (55% to hit) but misses. Thankfully I had Echoing Spite, and could now use Lady Harrow’s inspired attack with cleave, and attacked again (62% to hit), this time taking Vasillac out of action with a 4 damage attack. (2-1)
- A4 – Dylan moves Glissete onto objective 3.
- A5 – I move action with Widow Caitha onto objective 5 to score Hidden Purpose. (3-1)
- A6 – Dylan moves Hadzu onto objective 1.
- A7 – I charge Glissete with the Anguished One after giving her Hollow Hatred (something like 38% to hit) and amazingly kill her with 2 fury! (4-1)
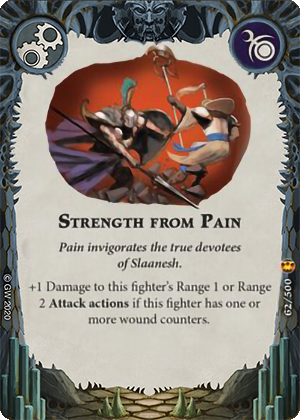
- A8 – Dylan then charges Slakeslash onto objective 3 attacking the Anguished One (48% to hit) and misses, but scores Endless Revel and gives Slakeslash Strength from Pain. (4-2)
The End Phase looks like this:
Scoring:
I score first, and score nothing! I keep my 3 objective cards and draw back up. Dylan scores Intimidating Display for 1 glory. He discards Dominant Position and Gathered Momentum and draws back up for round 2. (4-3)
This round is going very well for me, mostly due to being lucky enough to land a large portion of my attacks, especially the attack from the Anguished One that killed Glissete. This gives me a fighter advantage in a match-up that cares a lot about holding objectives. I do wish I had been able to inspire the Anguished one, as her attack still isn’t that great, but having Lady Harrow inspired and upgraded is nice.
Going into round 2 my goal should be to kill Hadzu and limit the amount of glory Dylan can score.
Round 2:
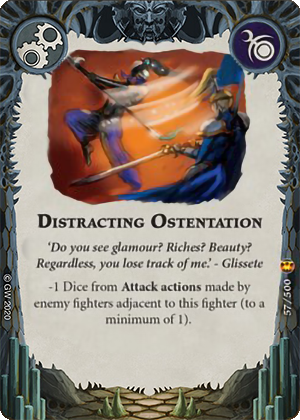
- A1 – Dylan wins the roll off and goes first, attacking the Anguished one with Slakeslash, dealing 2 damage to the ghost, driving her back, and scoring Hidden Purpose. Then Dylan gives Slakeslash Distracting Ostentation. (4-4)
- A2 – I play Frenzied Search and discard Mischievous Spirits (since my main goal is to kill Hadzu and get wounds on Slakeslash for Ghostly Torment rather than disrupt his plan – this was probably a mistake though). Dylan gives Deserved Confidence to Slakeslash, activating the extra wound and no drive back. I put Maddening Hunger and Great Fortitude to the Anguished One, play Spectral Wings, and charge with the anguished one, traveling through Slakeslash on objective 3 and Hadzu on objective 1, targeting Hadzu with the attack (about a 69% chance). The attack is a draw due to each of us only rolling one crit, but I push him back and score Fleeting Memories and Show of Force. (6-4)
- A3 – Dylan charges with Slakeslash at the Anguished One. I play Buried Instinct and the attack (38% to hit) succeeds with a crit and a hit, dealing 2 damage to the Anguished one, who is now at 1 wound due to her inspired 4th wound and Great Fortitude. I score Swift Capture after that activation (though I forgot to ever give myself the glory for this one, lol). (7-4)
- A4 – I put Great Strength on Lady Harrow and charge Slakeslash, hitting him for 5 damage (54% to hit). This was actually a blunder on my part because although I did not want to kill him (I was trying to score Ghostly Torment and needed another fighter other than the Anguished one with Wounds) I forgot that his 6th wound was from Deserved Confidence (meaning I can’t push him off of the objective) and now Hadzu was free to claim a 2nd objective for Dylan. It also inspired his warband. I then put Deserved Confidence on the Anguished One, bringing him to 6 wounds with 2 remaining.
- A5 – Dylan attacks the Anguished One with Hadzu (41% to hit), but misses.
- A6 – I move onto objective 2 with Widow Caitha. This was also a blunder on my part, as I should have waited to do this until after Dylan’s last activation to avoid her being knocked off the objective, and possibly drawing a power card that would help me.
- A7 – Dylan charges onto objective 3 with Hadzu targeting Caitha (48% to hit). The attack draws, but he pushes her off of the objective.
- A8 – With no fighters left to activate, I draw a power card.
The End Phase looks like this:
Scoring:
Dylan scores first, and scores a total of 5 glory from Ahead of the Hunt, Excess of Avidity, and Excess of Indolency. I score Ghostly Torment and Team Effort for a total 3 glory. (10-9)
This round was an okay one for me glory wise (+6) but I really should have focused on the more important goal of killing Hadzu in order to stop nearly all of Dylan’s scoring instead of tunnel visioning on scoring Ghostly Torment. I also need to remember what cards like Deserved Confidence do when I am planning my activations. Dylan is doing a fantastic job playing from behind, and I am winning at this point in the largely due to my lucky dice in the first round rather than superior play, and in many ways the result of the game depends on who gets to go first in round 3.
Round 3:
- A1 – I win the immensely important roll off to go first, and charge Slakeslash with the Anguished One in order to get the bonus dice from Maddening Hunger in order to cancel out the -1 Dice from Distracting Ostentation. I don’t know the odds on this attack off hand because of the Anguished One’s crit denial, but they were high, and luckily for me the attack landed, killing Slakeslash an giving me 2 glory for the kill due him having 6 wounds. (12-9)
- A2 – Dylan attacks the Anguished One with Hadzu (48% to hit), but misses. I forget to react with Lady Harrow (I could have moved adjacent to Hadzu.
- A3 – I give the Amberbone Sword to the Window and charge Hadzu (61% to hit) but misses.
- A4 – Dylan charges with Hadzu onto objective 4, targeting the Anguished One again (48% to hit), but misses.
- A5 – I charge Hadzu with Lady Harrow (48% to hit), and kill him with a crit. (13-9)
- A6 – Dylan draws a power card.
- A7 – I draw a power card.
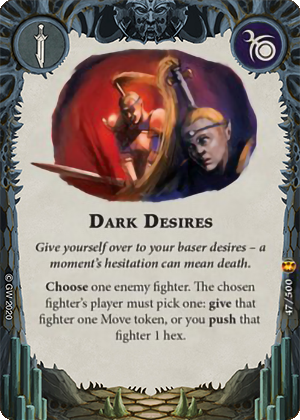
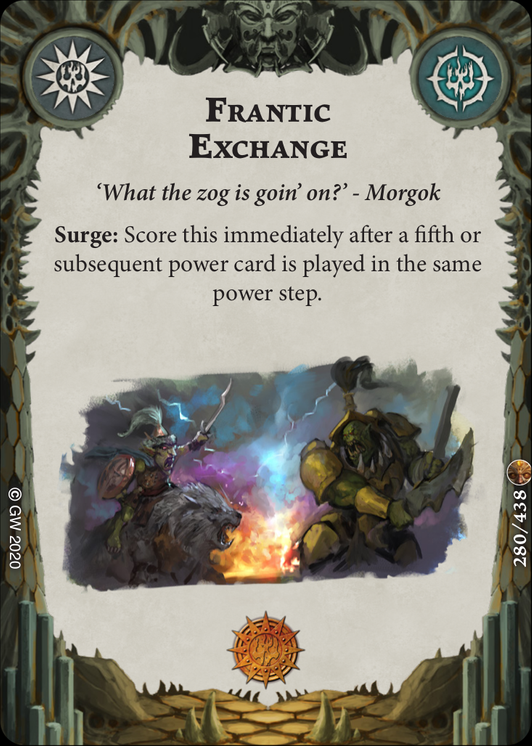
- A8 – Dylan draws a power card, and then plays Dark Desires on Lady Harrow (trying to score Frantic Exchange). I choose to give Lady Harrow a Move token, and then play Chilling Scream and Restless Prize to move objective 2 under Lady Caitha.
The End Phase looks like this:
Scoring:
I score Dominant Position and Nexus of Terror for 4 glory. Dylan scores nothing, for a final score of 17-9.
Thoughts on the game:
This game was fun but it was not my best. Looking back I made a number of mistakes that would have made this game a lot easier, and was mostly carried by my early dice rolls. Because the Mournflight and Dread Pageant are so similar and both have the similar weakness of running out of steam once they start losing fighters, killing both Glissete and Vasillac in the first round was always going to be extremely hard for Dylan to come back from, but my mistake in the second round almost made things close enough that if Dylan had been able to activate first in the 3rd round and perhaps kill the Anguished One, the game would have been much closer, and perhaps even gone his way if I was not able to kill at least one of his fighters. If I had not managed to kill both Glissete and Vasillac in the first round, I don’t think I would have won this game.
If it seems like I’m being too hard on myself while winning, I probably am, but I find these mistakes interesting to learn from, and want to make sure that I (and maybe you) learn from these mistakes for the future! Luck won’t always be on your side, so making as many of the right choices in your games as possible should always be the goal, and in larger events sometimes you will need as much glory as you can get to secure a place in the top 8-16 cuts due to tiebreakers, so every glory scored and denied can be very important.
Conclusion
If you got this far into the article, thanks for reading! Building the deck and playing in the tournament was a lot of fun, and I am really enjoying these games in the initial Direchasm meta (also very happy I didn’t see any Mollogs)!
If you want to play in the next cam game event, the Straight Outta Shadespire XI event will be on January 2nd 2021, and you can sign up here.
If you enjoyed this event write up, let me know! I’m not sure I will always have the time and Direchasm fueled energy to do such a detailed breakdown of my games (this took like 5 hours to write lol), but if it’s something players find useful I may consider doing it again in the future.


